Chicken and Chorizo Rice
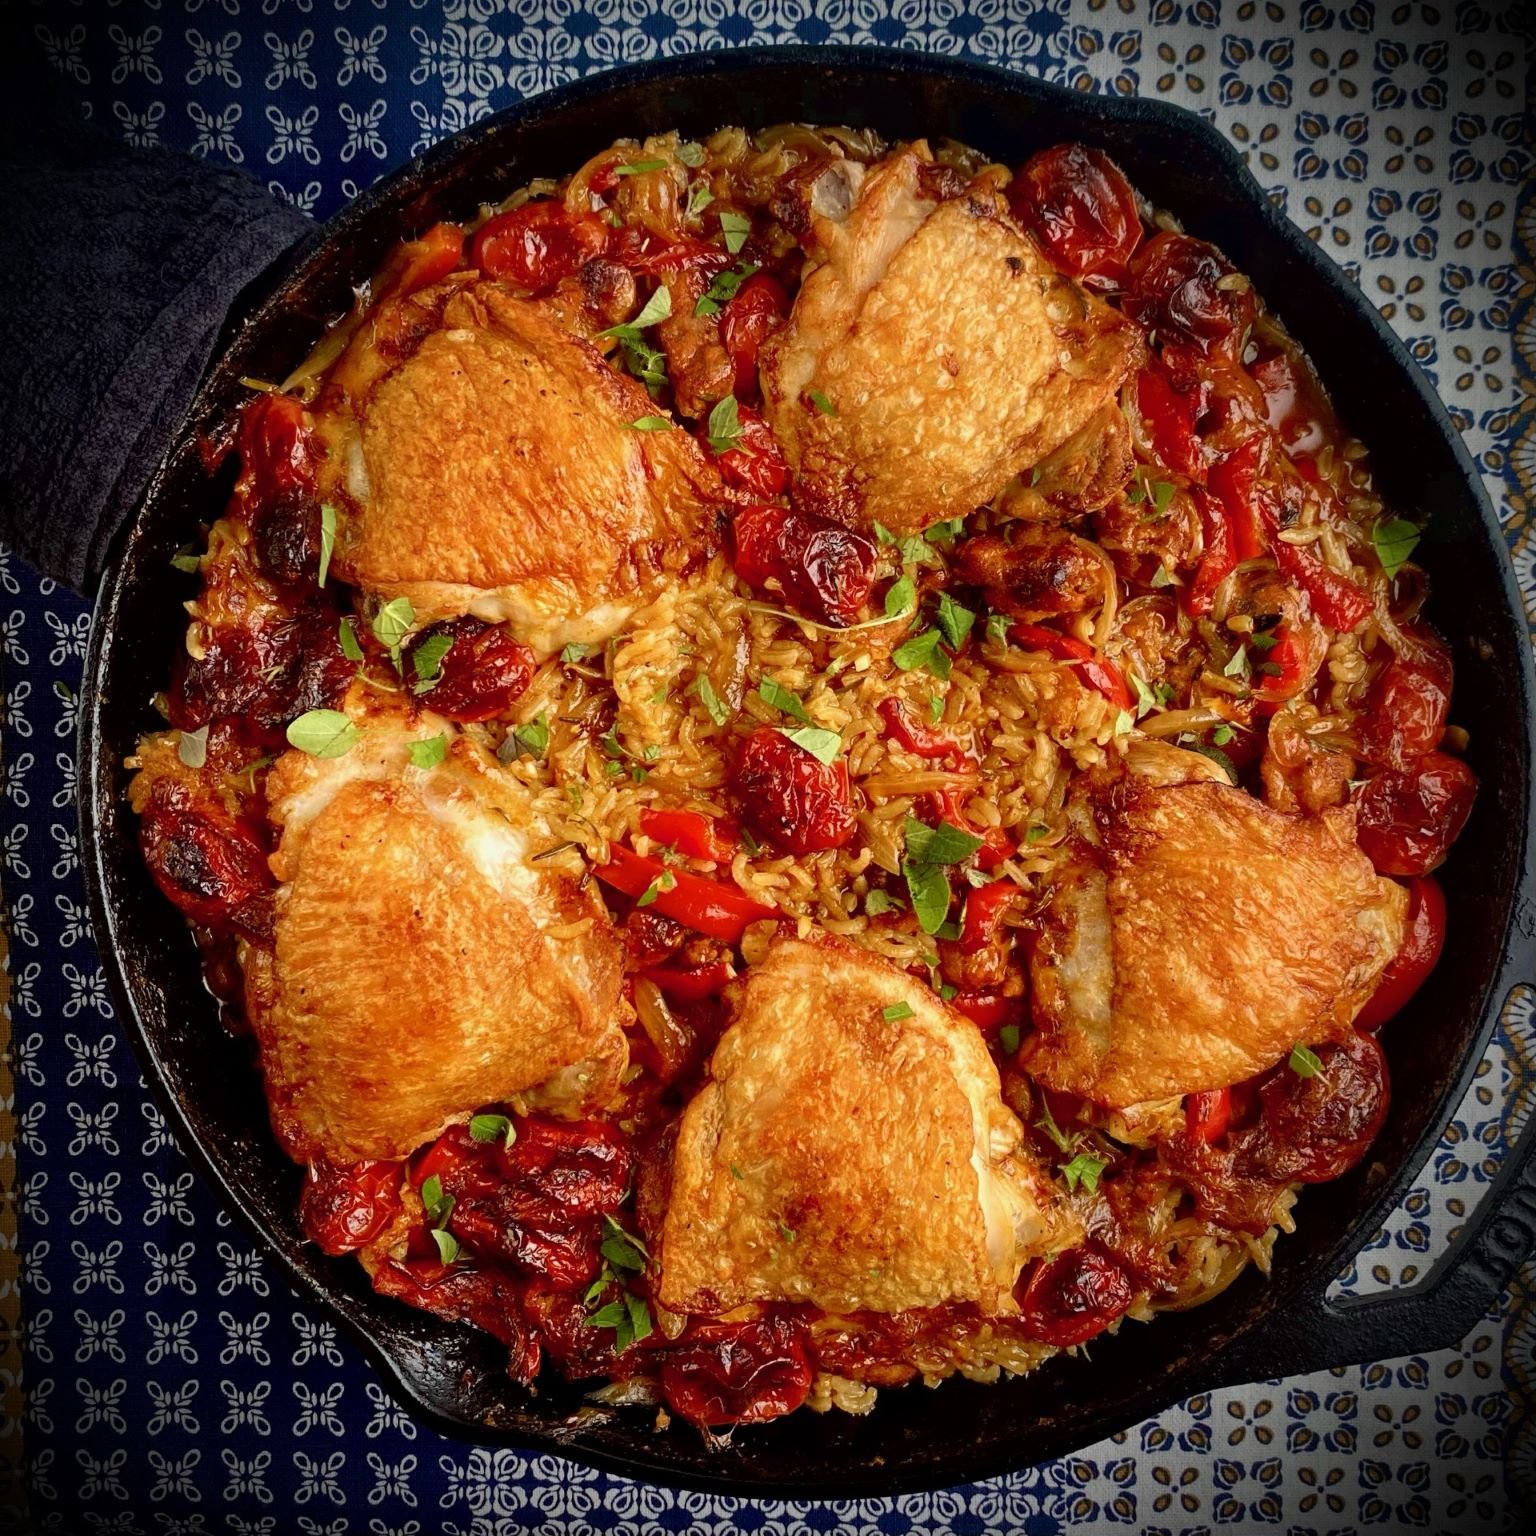
This classic Spanish recipe of Chicken and Chorizo Rice carries all the hallmark colors and flavors of dishes from that region. Beautiful bright colors of red and orange give the dish a stunning, vibrant look on the plate. The huge flavors of spice from Cumin, Smoked Paprika, Garlic, and of course that wonderful Chorizo Sausage give the dish an amazing taste. The beautifully cooked Arroz (Rice) and sitting on top of it all: Delicious crispy skinned Chicken. What’s not to love about this dish?
How to make Chicken and Chorizo Rice
The best part about this dish is all you need is one pot. There’s nothing fussy about the recipe at all, just good quality ingredients and a good quality, oven safe pot. Get those in your hands and this dish practically makes itself!
We highly recommend cooking this dish with a large Cast Iron Pan if you have access to one. The Cast Iron Pan is not only oven safe, making the dish so much easier to make, but it conducts heat better than anything else out there. This is particularly important for this dish given the Rice will be cooking in the pan while in the Oven. Even heat distribution is key to ensure all the rice gets cooked, from the center to the outer edges of the pan
If you don’t have a cast iron pan, any other oven safe dish will work well. Dutch Ovens are another great option. Alternatively, you can make the dish in a frying pan and then transfer all of the ingredients to a baking pan / sheet pan. So, there is really no excuse not to make this amazing Chicken and Chorizo Rice dish tonight!
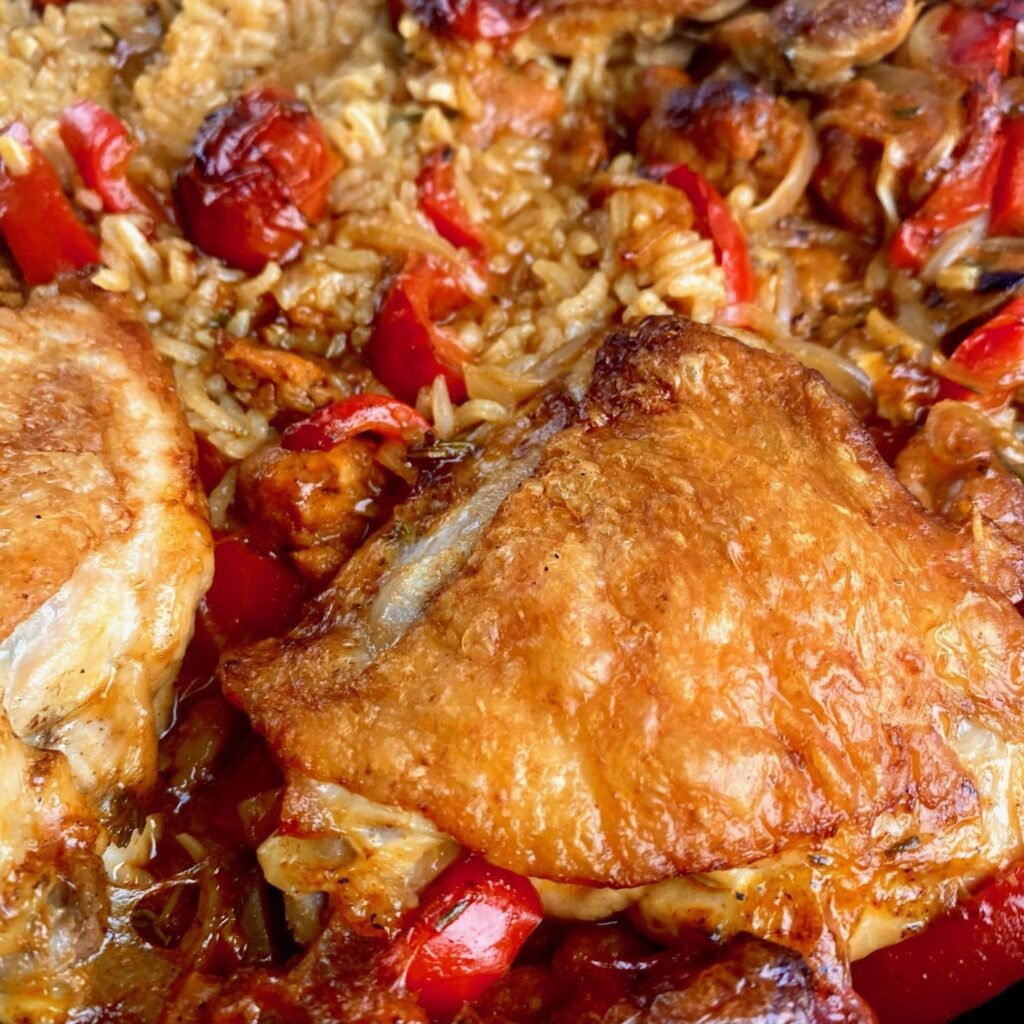
First step is to sear the Chicken to get a lovely, crispy skin
We highly recommend using Chicken Thighs with their skin on for this recipe. Our recipe will ensure a perfectly crispy skin on the Chicken which adds some wonderful texture and flavor to the dish. There’s a couple of techniques to adopt to ensure that Chicken skin gets perfectly crispy
First, take the Chicken out of the refrigerator about 1 hour before cooking to bring it up to room temperature. While the Chicken is resting, season the skin generously with Salt. The Salt will help to extract the moisture from the skin, which assists in making it crispy when cooking
Pat the skin down with a paper towel to remove any excess moisture right before cooking. We then plate the Chicken into the hot pan, skin side down, along with a little bit of Oil. Leave the Chicken for about 5 minutes to render the fat from the skin. Flip it over and give it about 1 minute on the other side, then remove from the heat and set aside
The Chicken won’t be cooked at this stage, but the skin will already be crispy. Once the dish is completed, the skin is going to crisp up even more and be ridiculously crunchy and delicious!
Next step is to build the flavors for the Chicken and Chorizo Rice
Keep all those wonderful Chicken bits in the pan, as we’ll use them to add flavor to the Chorizo and Vegetables, which go straight into the pan along with all the spices. To make things easier, I like to combine the Chorizo, Onions, and all the spices in a separate bowl. Mix them around a bit then throw them straight into the hot pan
For the best texture, we recommend removing the Chorizo Sausage from their casing and breaking them up into chunks. To remove the casing, simply cut across it lengthways with a sharp knife then peel out the filling
Give this all about 5 minutes in the pan. At this point the aromas of the dish are incredible as all those wonderful spices and ingredients start to meld together. Add your Tomatoes, Bell Peppers, and Garlic and give them about 1 more minute in the pan
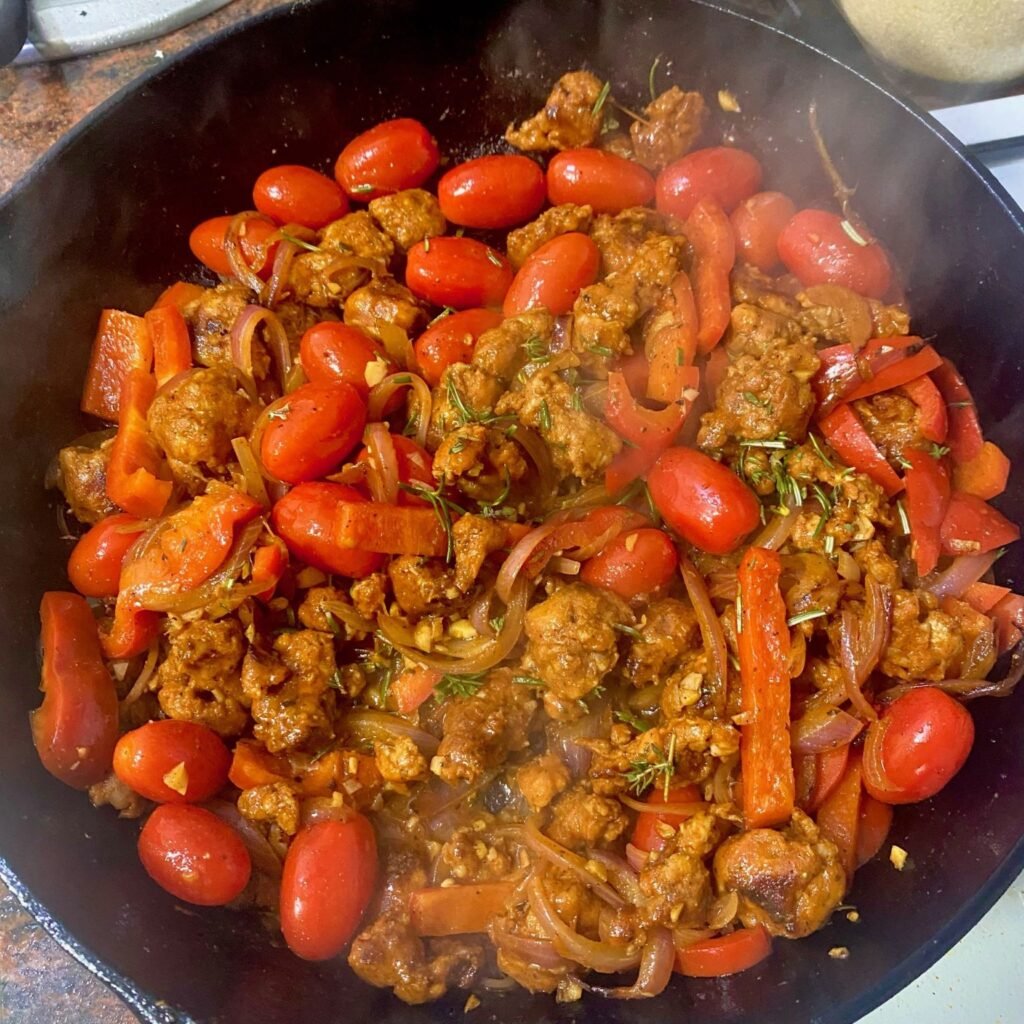
Deglaze the pan with White Wine before adding the Rice
An important step in cooking the Chicken and Chorizo Rice is to deglaze the pan. By this point your pan is filled with so many wonderful flavors, but many of them are probably starting to stick to the pan. Especially if you’re using a Cast Iron Skillet, which are notorious for getting bits sticking to them
Adding the White Wine will immediately deglaze the pan, releasing all those amazing Chicken bits and spices that were stuck on the pan. Cook this all around for about 2 minutes and the White Wine will almost all have evaporated. At this point, it’s time to add the Rice!
Give the rice a few minutes in the pan before adding liquid
Like a Spanish Paella, or a good Risotto – we add the Rice before the liquids go into the dish. This starts the cooking process of the rice and helps to separate them all a little bit. After a few minutes in the pan, it’s time to add the liquid. Use a good quality, homemade Chicken Broth for this recipe. About 3 cups should do the trick
You need to add more liquid to this dish than you would a typical rice preparation. The cooking technique of an open pan in the Oven means that more liquid will evaporate. There is also way more ingredients in the pan, so the liquid will absorb into other ingredients as well as the rice. This is also why it’s important to use good quality Chicken Broth, and not water. You’ll get so much more flavor in the dish
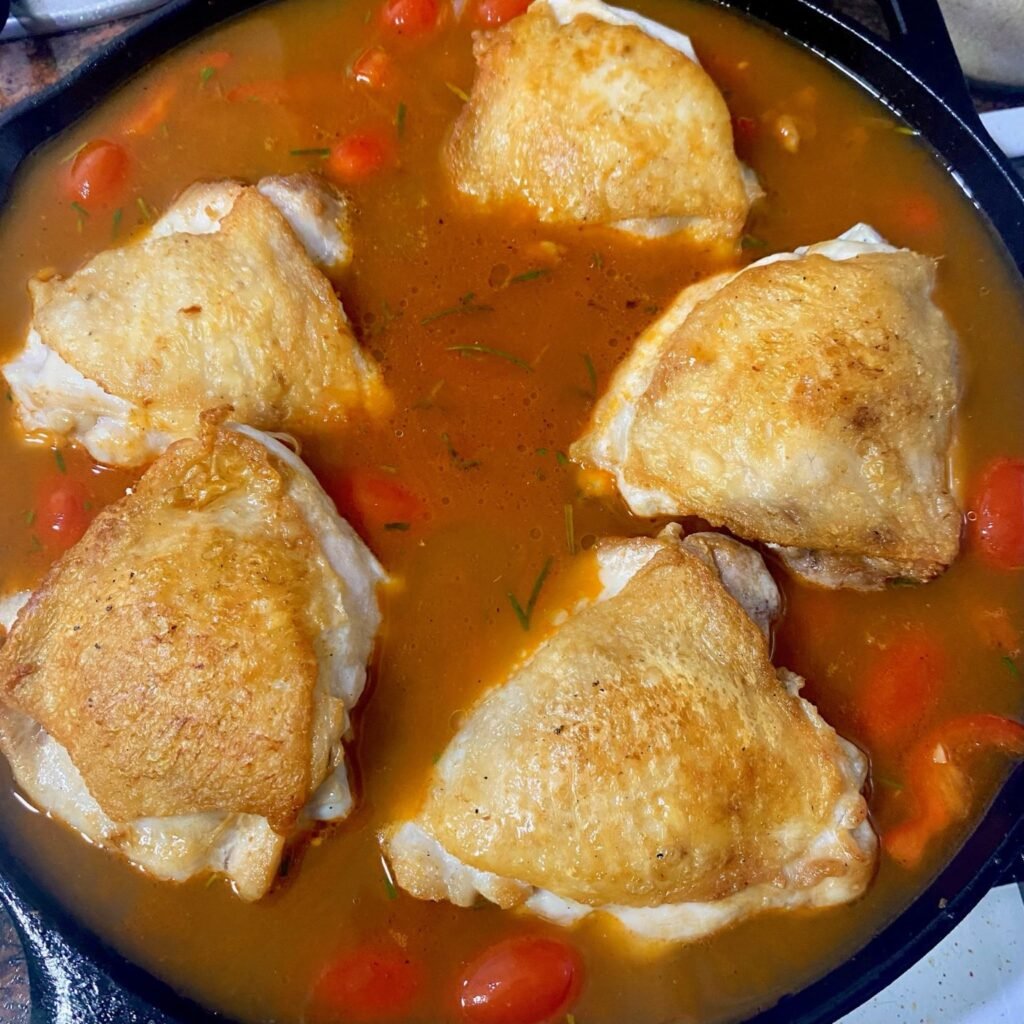
Into the Oven and let the dish bake for 45 – 50 minutes
Cooking times will vary slightly, depending on the size of your pan, and the heat distribution of the oven. Every oven is different, so it may take a little longer, or a little less time to cook through completely. We set the oven at 400F
Before the dish goes into the Oven it’s time to add the Chicken back into the pan. Nestle the Chicken pieces on top of the dish with the skin side facing up. Into the Oven it goes where you don’t need to do anything! Just wait until it cooks!
It may be deceiving when the dish is finished cooking. You may still have some liquid on the surface covering the Rice, which may make you think the dish isn’t done. It definitely will be the liquid just surfaces when it cooks in the oven. Once you remove the dish from the Oven, give the rice a good stir around and all that excess liquid that was on the top of the pan will absorb into the dish! It’s time to eat!
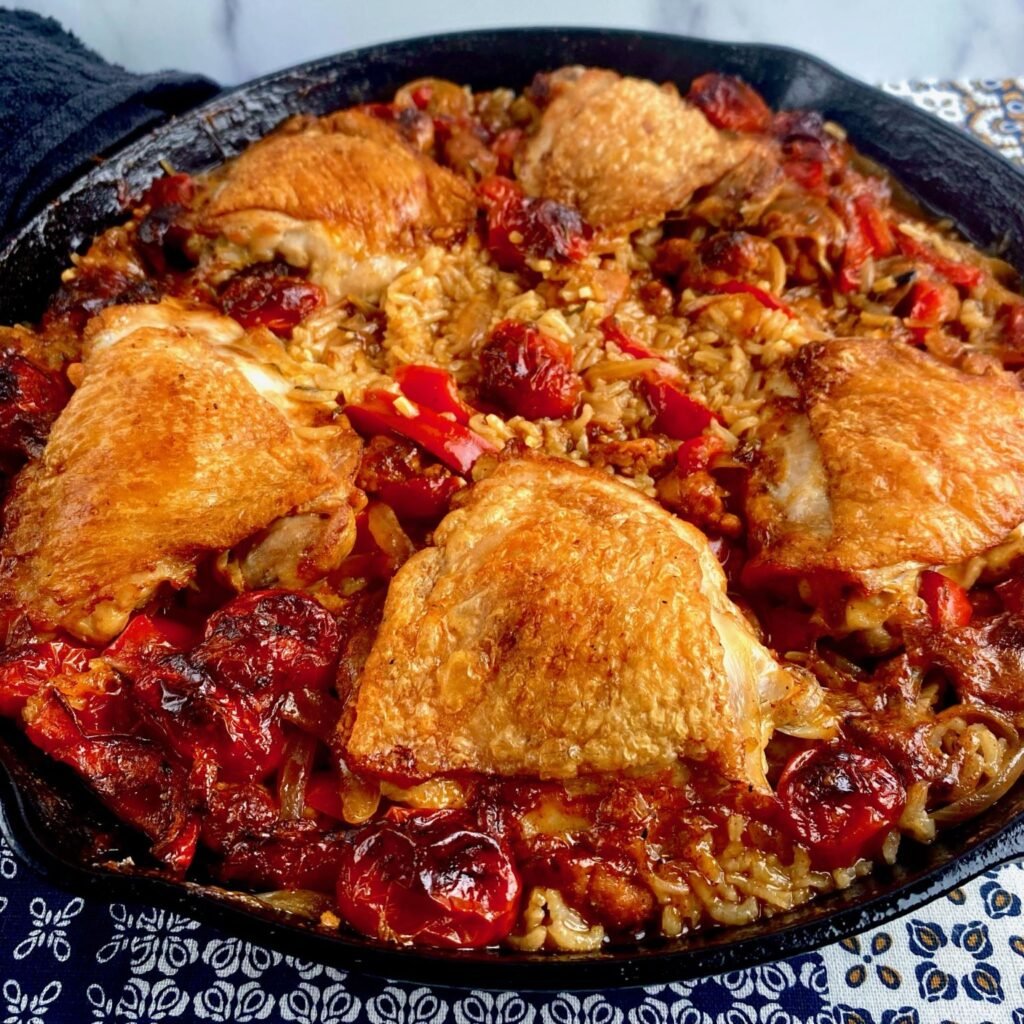
This is a hearty dish, and will easily feed 4 people, but more likely 6!
Not only is this dish so easy to make using only 1 pot, but it feeds an army! You’ll easily be able to feed 4 hungry people with this dish, making it the perfect meal for a midweek dinner for the family. The simplicity of the dish means you can prepare all the ingredients in about 10 minutes, then simply throw it all in the oven
It makes for great leftovers, so if you’re cooking for less people that’s totally fine. Just place any leftovers in the refrigerator and enjoy them the next day. We’d suggest giving the Chicken a quick pan fry the next day or, if you have one, throw it in the air fryer. This will keep the skin crispy, making it just as enjoyable to eat as the night before!
Recipe Details
4 – 6 people
10 minutes
50 minutes
1 hour
Chicken and Chorizo Rice Recipe
Ingredients
- 5 Chicken Thighs
- 1 cup of Rice (Jasmine or Long grain)
- 3 cups of Chicken Broth (recipe here)
- ½ cup White Wine
- 300g / 10 oz. Chorizo Sausage, cut into bite sized pieces
- 1 Red Onion, sliced
- 1 cup Cherry Tomatoes
- 4 Garlic Cloves, finely chopped
- 1 Red Bell Pepper, sliced
- 3 tsp. Smoked Paprika
- 1 tsp. Cumin
- 1 tsp. Coriander Powder
- 1 tsp. Cayenne Pepper
- 1 tsp. Black Pepper
- 1 Rosemary Sprig, roughly chopped
- ½ cup Parsley, roughly chopped
- 1 tsp. Vegetable Oil
- Salt
Instructions
- Season the Chicken Skin well with Salt. Heat a large oven safe pan such as a Cast Iron Skillet over medium / high heat with Vegetable Oil. Once hot, add the Chicken, skin side down, and cook for 5 minutes to render the fat. Turn chicken oven, cook for a further 1 minute then set aside
- Pat the pan dry of excess Chicken Fat / moisture but leave a little bit in the pan. Add the Chorizo, Red Onion, Paprika, Cumin, Coriander Powder, Cayenne Pepper, Black Pepper, and 2 tsp. of Salt. Cook for 5 minutes, stirring frequently
- Deglaze the pan with White Wine to scrape up any Chicken bits and spices stuck to the pan. Once the Wine has evaporated, add the Bell Peppers, Tomatoes, and Garlic and cook for 1 minute
- Add the Rice and stir through well to incorporate into the mixture. Cook for a further 2 minutes, then add the Chicken Broth and Rosemary. Bring to a simmer, then remove from heat. Add the Chicken Thighs back to the dish with the skin side facing up, then place the dish into the Oven preheated to 400F
- Bake for 45 minutes then remove the pan from the oven. Stir the Rice around to absorb any excess liquid that’s sitting on top of the dish. Check for seasoning, then finish with Parsley and serve immediately
Recipe Notes
This dish is best made using an oven safe pan such as a Cast Iron Skillet or Dutch Oven. If you don’t have an oven safe frying pan, you can transfer the ingredients to a baking tray before everything goes into the oven
The Chicken and Chorizo Rice dish is so easy to make, and we hope you enjoy cooking it (and eating it!) as much as we did. For more wonderful Rice dishes check out our dedicated section here. If you’re craving more Rice recipes, why not try out these awesome dishes:
- Honey Soy Chicken Fried Rice
- Lemon and Dill Risotto
- Butternut Squash and Mushroom Risotto
- Salmon Poke Bowl
Happy Cooking!
