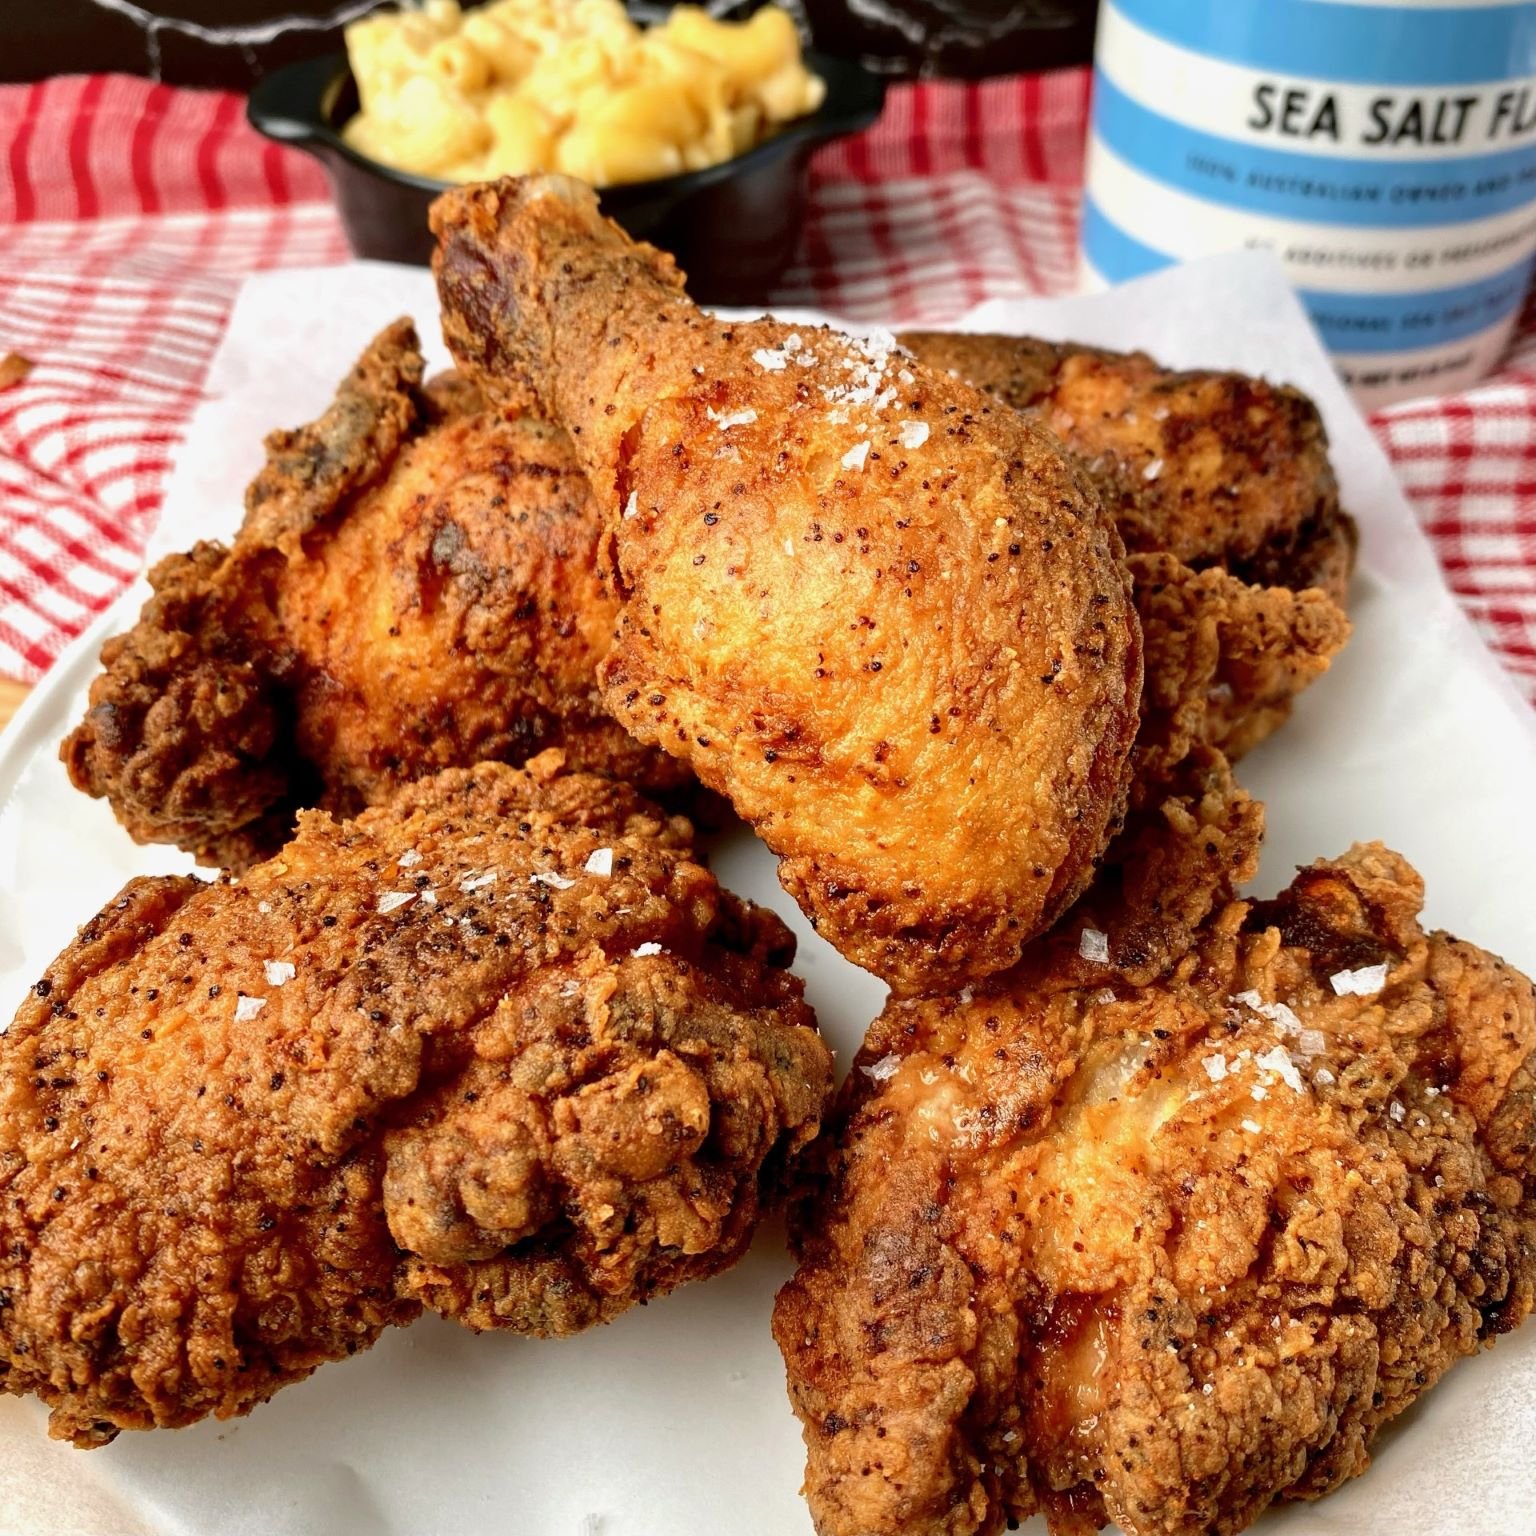
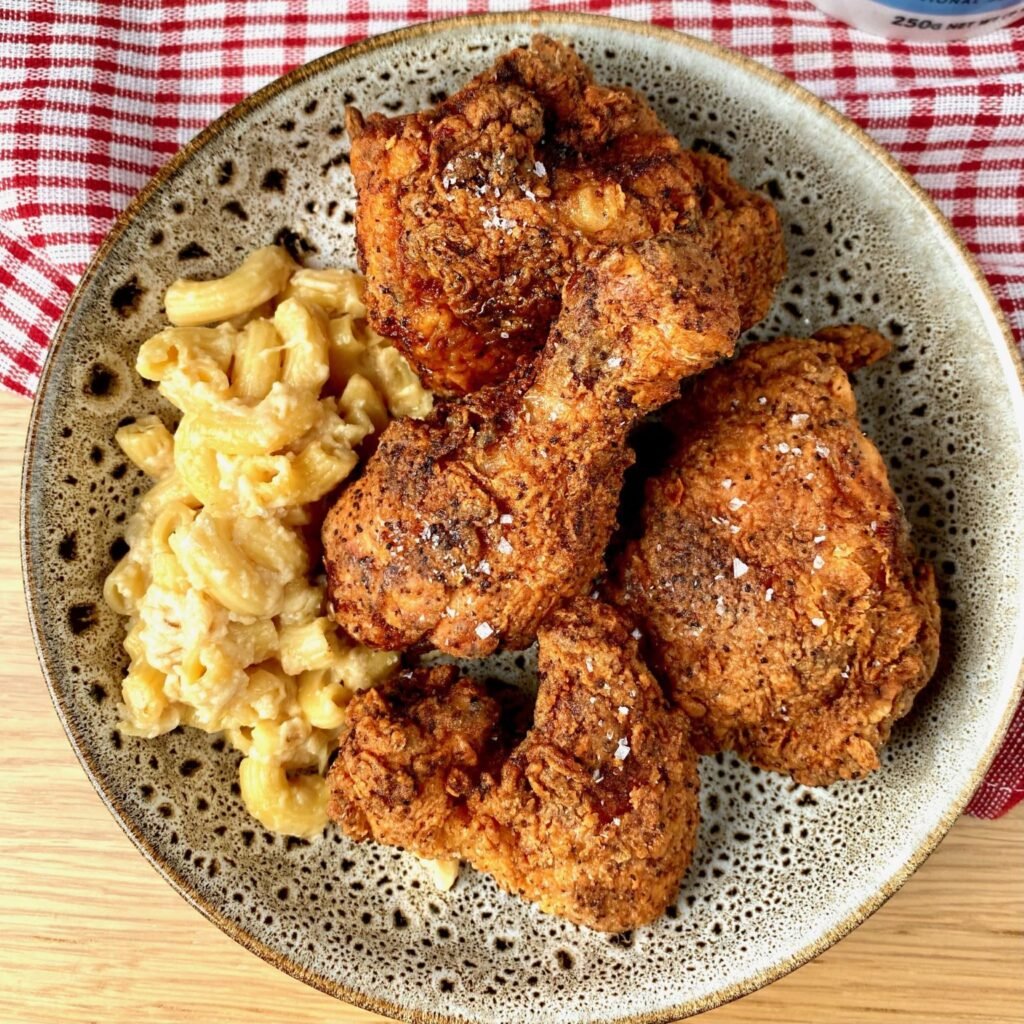
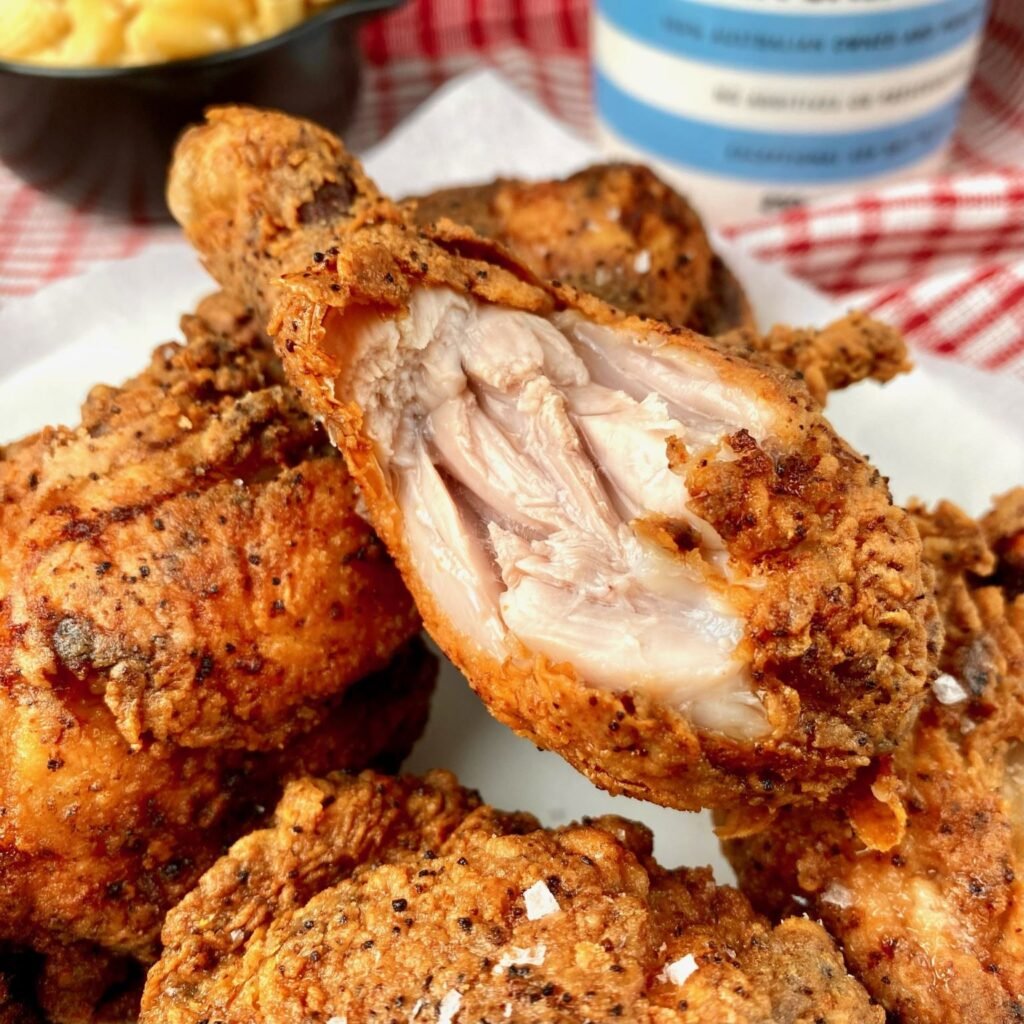
Cast Iron Fried Chicken
Deep frying Chicken in a Cast Iron Pan is the most traditional way this dish is cooked in the South. Delicious pieces of Chicken are breaded in a heavily seasoned coating and then fried in a large Cast Iron Skillet until crispy and golden-brown. This technique of cooking is, in our opinion, not only the easiest way to make Fried Chicken, but also the tastiest. Cast Iron Fried Chicken is simply loaded with flavor, and the Chicken itself will come out so deliciously tender and juicy. Simply put, this is a recipe you just have to try!
Why is a Cast Iron Skillet so good for frying?
Every kitchen should own a Cast Iron Skillet. They are unbelievably sturdy and will last a lifetime if taken care of properly. They’re easily one of the most important items in any kitchen because of their versatility
Cast Iron is not only incredibly durable, but it conducts heat better than any other material. Whichi s perfect when it comes to cooking dishes on the stovetop. The heat will stay constant and even throughout the pan, ensuring a good, even cook throughout. It’s heavy material also allows for frying with no risk of damaging the pan, making it a perfect tool for Fried Chicken
While not used in this recipe, Cast Iron Skillets are also oven safe. So, if you’ve got a dish that requires pan frying and then finishing off in the oven (like a thick cut piece of Ribeye for instance), you can’t beat using a Cast Iron
They’re incredibly cheap to purchase too and given they’ll last a lifetime if properly taken care of, it will be one of the best purchases you make for your home!
How to make Cast Iron Fried Chicken
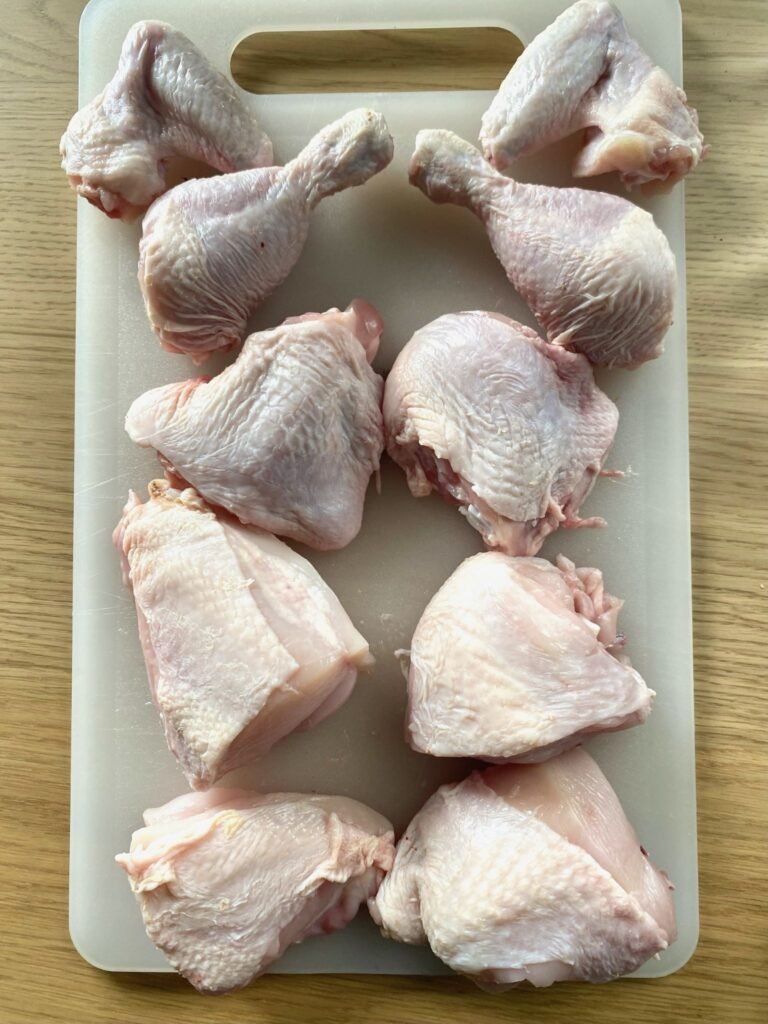
Like any good Fried Chicken recipe, we start things off by preparing the Chicken! For this recipe we recommend that you use a Whole Chicken that you can butcher at home. This is by far and away the most cost-effective way to buy Chicken, and it’s perfect for this recipe as we use every piece of the Chicken
There are lots of different videos out there on how to properly butcher a Chicken at home, however this video here is the one I recommend. Follow this video and use the sharpest knife you have, and the process will be simple
One your Chicken is butchered, let it brine in Buttermilk
The classic way to prepare Southern style Fried Chicken is soaking the Chicken pieces in a Buttermilk Brine. Now, you can buy Buttermilk from the store, or just do what we do and make your own. All you need to do is mix regular Whole Milk with some Lemon Juice and you’re set!
Be sure to season the Buttermilk! This is the first step in infusing as much flavor into the Chicken as possible. Fried Chicken can take a load of seasoning, so be sure to aggressively season the Buttermilk Brine. For our Cast Iron Fried Chicken, we season the Buttermilk Brine with Salt, Pepper, Onion Powder, Garlic Powder, and Hot Sauce
Add the Chicken pieces, ensuring they’re all completely submerged in the Buttermilk and allow it to sit in the refrigerator for at least 4 hours. I recommend leaving it overnight for the best flavor. When you’re ready to cook, remove from the refrigerator and leave at room temperature for about 2 hours before cooking
Breading the Chicken
To make the Chicken breading, fill a separate large bowl with All Purpose Flour and, like the Brine, season it well. We use similar seasoning in the breading that we used in the Brine, so a combination of Salt, Pepper, Onion Powder, and Garlic Powder. You can also add some Chili Powder or Cayenne Pepper if you want your Chicken spicy!
To bread the Chicken, remove it from the Buttermilk Brine and immediately place it into the flour mixture (one piece at a time). Coat well then tap off any excess flour before dipping it back into the Brine, before coating it one last time in the Flour
The ‘double-dip’ method is a popular technique for Fried Chicken connoisseurs and it’s one we absolutely recommend. Coating the Chicken twice in breading gives it a much better coat and will result in the crispiest Fried Chicken you’ve ever eaten!
Frying the Chicken in the Cast Iron Pan
Fill up your large Cast Iron Pan with frying oil about halfway full. Use a neutral frying Oil with a high burn point. We usually go for Vegetable or Canola Oil which works great for frying. It’s important that you don’t fill your Cast Iron pan any higher than halfway up
This is for safety reasons. When the Chicken is added to the pan the Oil is going to get higher, so you want to absolutely avoid the Oil getting anywhere near the top of the pan and potentially overflow. To be safe, never fill the pan any higher than halfway full of Oil
Using tongs, carefully place your Chicken pieces into the pan. For a Whole Chicken you will likely need to batch cook it into at least 2 cooks, as the Whole Chicken won’t all fit in the pan. Crank the heat of the Oil so it’s sitting at around 320 – 350F then add the Chicken
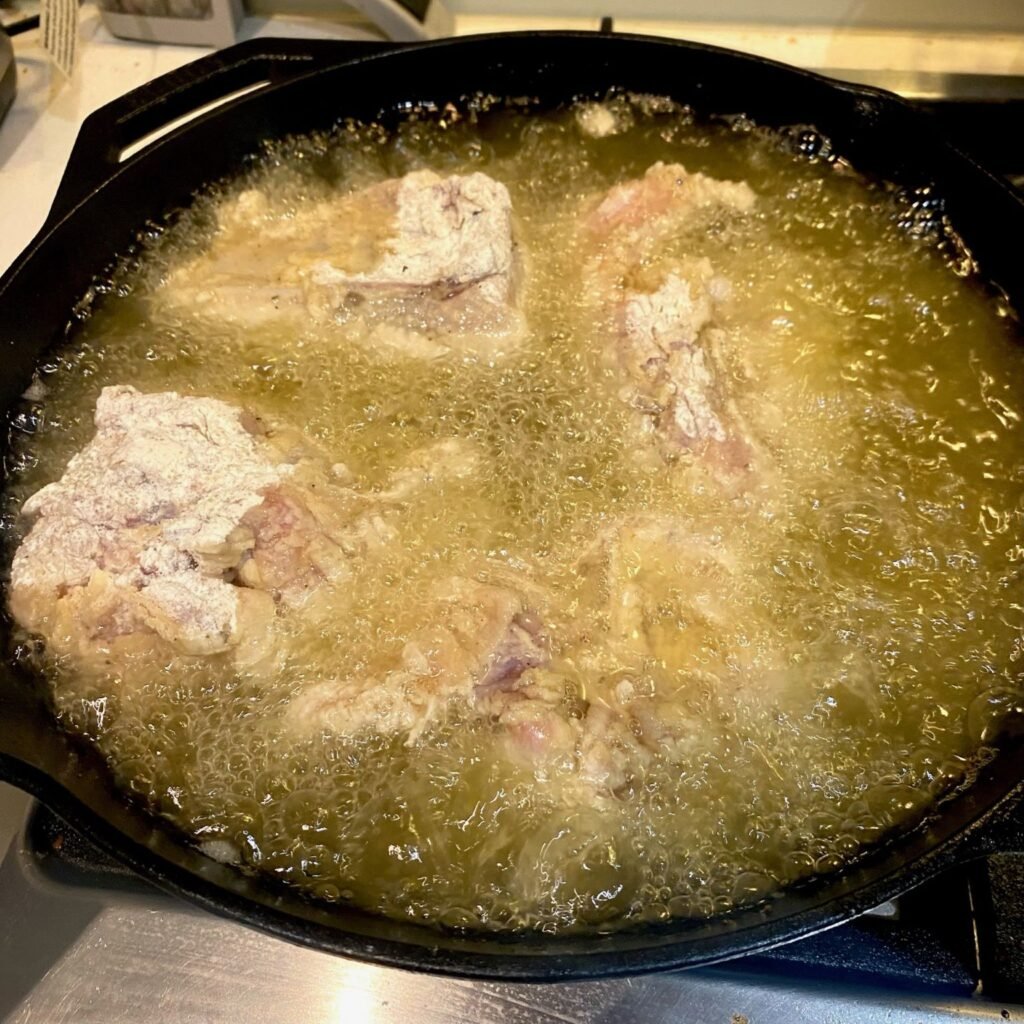
Avoid overcrowding the pan and ensure that there is ample room left after the Oil is added. Also note that certain pieces of Chicken will take longer to cook (eg the Breast) than others (eg the Wings)
Timing when the Chicken Pieces will be ready
Chicken pieces will be cooked at different times. You can add all the Chicken at once and simply remove them at different times when they’re done. Alternatively, you can cook the larger pieces first, and then gradually add other pieces later to try and time everything to be ready at the same time
Honestly, I find trying to time everything to be ready at the same time almost impossible. The Chicken is going to stay hot for ages once cooked, so you don’t need to be too fussy about what pieces to add, and when
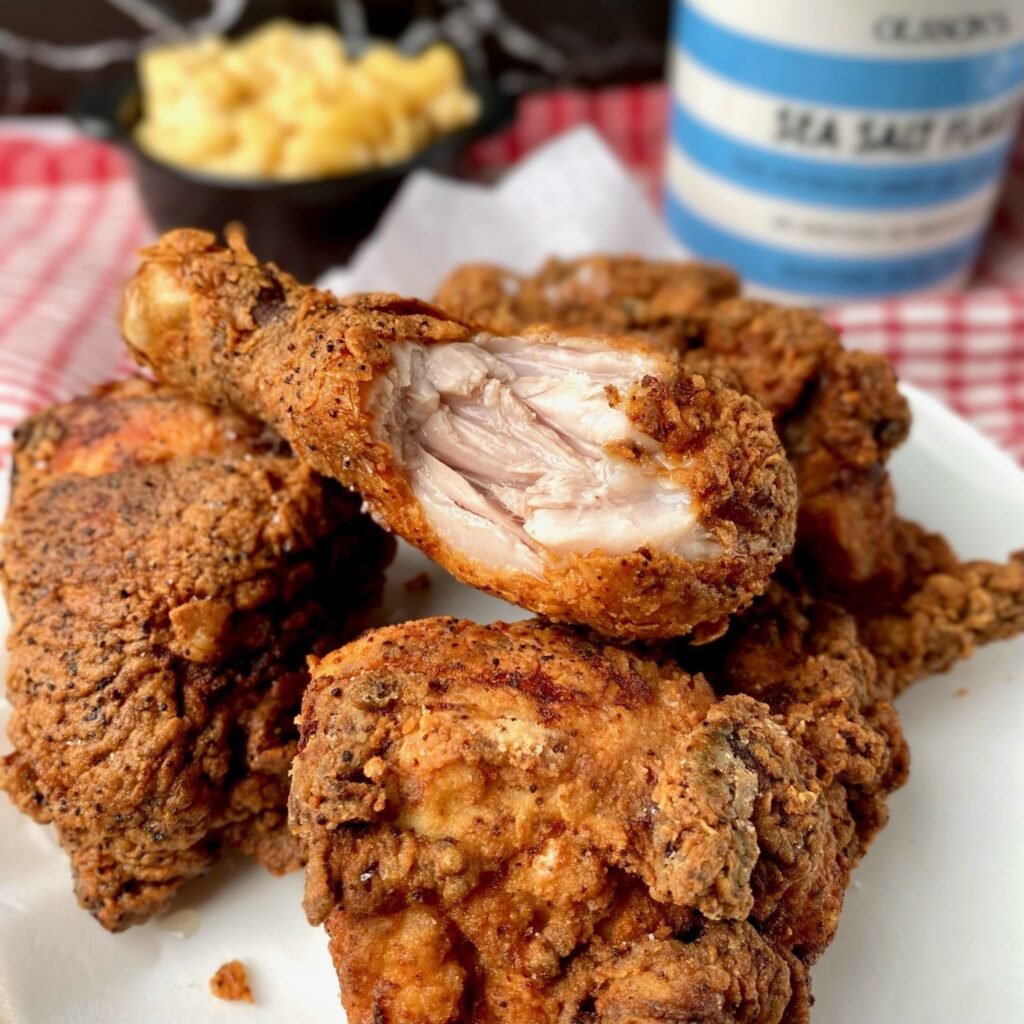
In terms of cooking times, the Chicken Breasts are going to take the longest, followed by the Thighs. Drumsticks will be next, and the Wings will have the least amount of cooking time required. I recommend using a meat thermometer to check the temperature of each piece to ensure you’re cooking them all to perfection
Cast Iron Fried Chicken takes longer to cook than regular deep frying
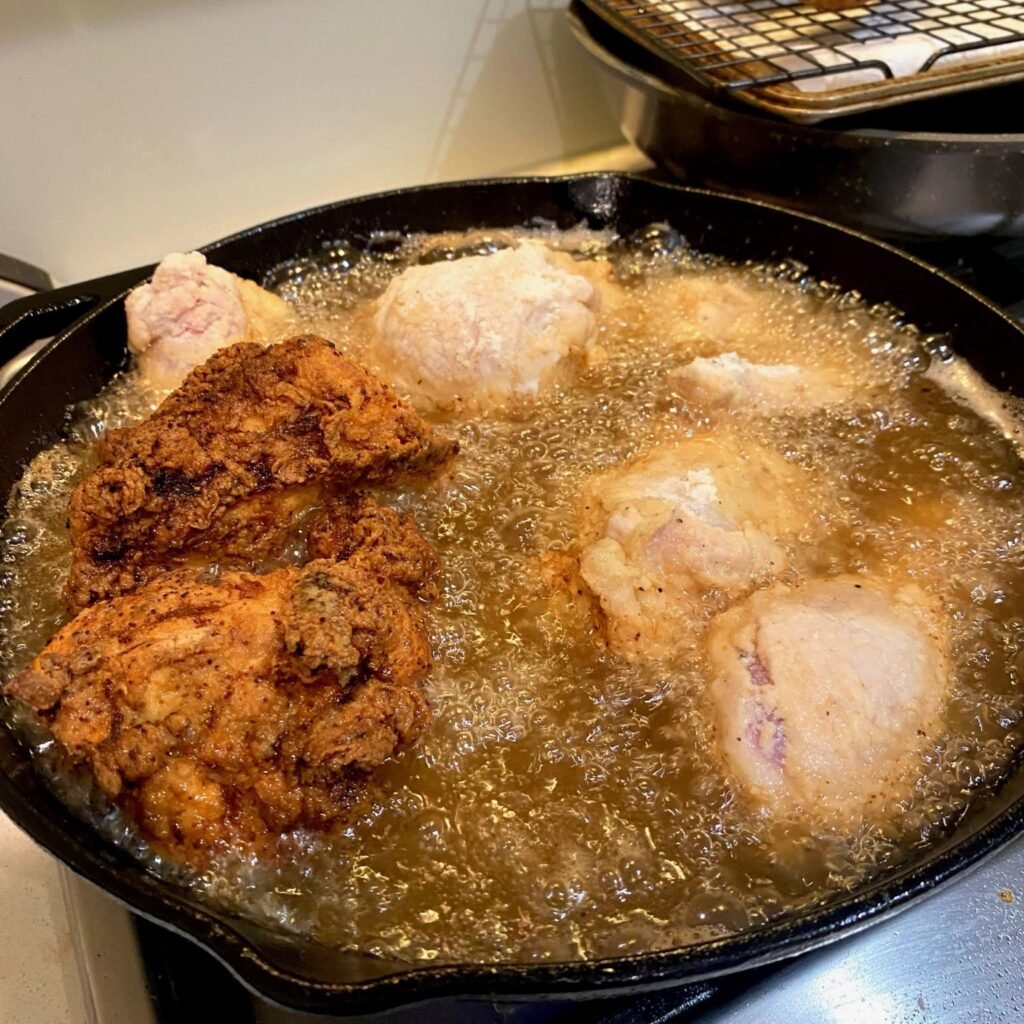
Naturally, this process is going to take longer to cook because only half the Chicken will be submerged in Oil. So, you’ll need to be turning the Chicken a few times as it cooks. You’re probably looking at around 10 – 15 minutes cooking time for the larger Chicken pieces, but the cooking time will depend on the temperature of the Oil and the size of the Chicken
Once the Chicken is cooked, remove it carefully from the pan using tongs and place it on an elevated wire rack. This will help remove any excess Oil. Immediately season the Chicken with Salt once it’s out of the Oil. The hot Oil will help the Salt stick to the Chicken, and seasoning the coating is critical for the best flavor
At this point your Chicken is done! You can batch cook the remaining pieces and then serve everything at once. Or, if you’re like us, start eating the cooked pieces while the second batch is being fried up! The smell of Fried Chicken in the house is so good it’ll be impossible to not dive in immediately!
Recipe Details
2 – 4 people
4 hours (for brine)
15 minutes
4 hours+
Cast Iron Fried Chicken Recipe
Ingredients
- 1 Whole Chicken
- 8 cups / ½ gallon of Frying Oil (eg: Vegetable or Canola Oil)
Brine Ingredients
- 6 cups of Whole Milk
- Juice of 1 Lemon
- 1 tbsp. Salt
- 1 tsp. Ground Black Pepper
- 1 tsp. Onion Powder
- 1 tsp. Garlic Powder
- 1 tsp. Hot Sauce (optional)
Breading Ingredients
- 4 cups of All Purpose Flour
- 1 tbsp. Salt
- 1 tsp. Ground Black Pepper
- 2 tsp. Onion Powder
- 2 tsp. Garlic Powder
- 1 tsp. Chili Powder or Cayenne Pepper (optional)
Equipment needed: Large Cast Iron Pan
Instructions
- Combine the Brine Ingredients into a large bowl and mix well
- Butcher the Chicken into individual pieces (use this video as a great reference) then place the Chicken into the Brine, ensuring all pieces are submerged. Refrigerate for 4 hours, preferably overnight
- When ready to cook, remove the Chicken from the refrigerator and allow to sit in the brine for 1 ½ – 2 hours at room temperature
- Combine your Breading Ingredients into a separate bowl and then fill a large Cast Iron Pan halfway up with Frying Oil and set over medium high heat. Do not fill the Oil any higher than halfway to avoid any Oil potentially overflowing when cooking
- Coat the Chicken pieces one at a time in the breading, followed by dunking them back into the brine before coating a second time in breading. Ensure you tap off any excess flour with each coat
- Once the Oil reaches 320 – 350F, add a few Chicken pieces to the pan. You may need to adjust the heat, as the Chicken will drop the temperature of the Oil. Batch cook to avoid overcrowding the pan
- Turn the Chicken pieces after every 4 – 5 minutes to ensure all sides get cooked. Use a meat thermometer to check the doneness of the Chicken, and remove from the heat once the internal temperature reaches 160F
- Place cooked pieces of Chicken on a wire rack and season immediately with Salt. Continue batch cooking remaining pieces and serve
Recipe Notes
- Each Chicken piece will cook at different times. The longest cooking time is the Chicken Breast, followed by the Thighs. Drumsticks are next, and the Wings will take the least amount of time to cook
- Use large tongs to carefully flip the Chicken in the Oil, being careful not to splash any hot oil as you do so
We guarantee you’re going to love this Cast Iron Fried Chicken recipe. It’s one of the simplest ways to prepare Fried Chicken and the flavors this dish produces are amazing! We highly recommend you give it a try if you love Fried Chicken!
For more delicious fried dishes such as this one, check out some of our favorite recipes:
- Beer Battered Fish and Chips
- Tamarind Glazed Fried Chicken Sandwich
- Fried Lasagna Rolls
- Greek Fried Cheese – Saganaki
Happy Cooking!