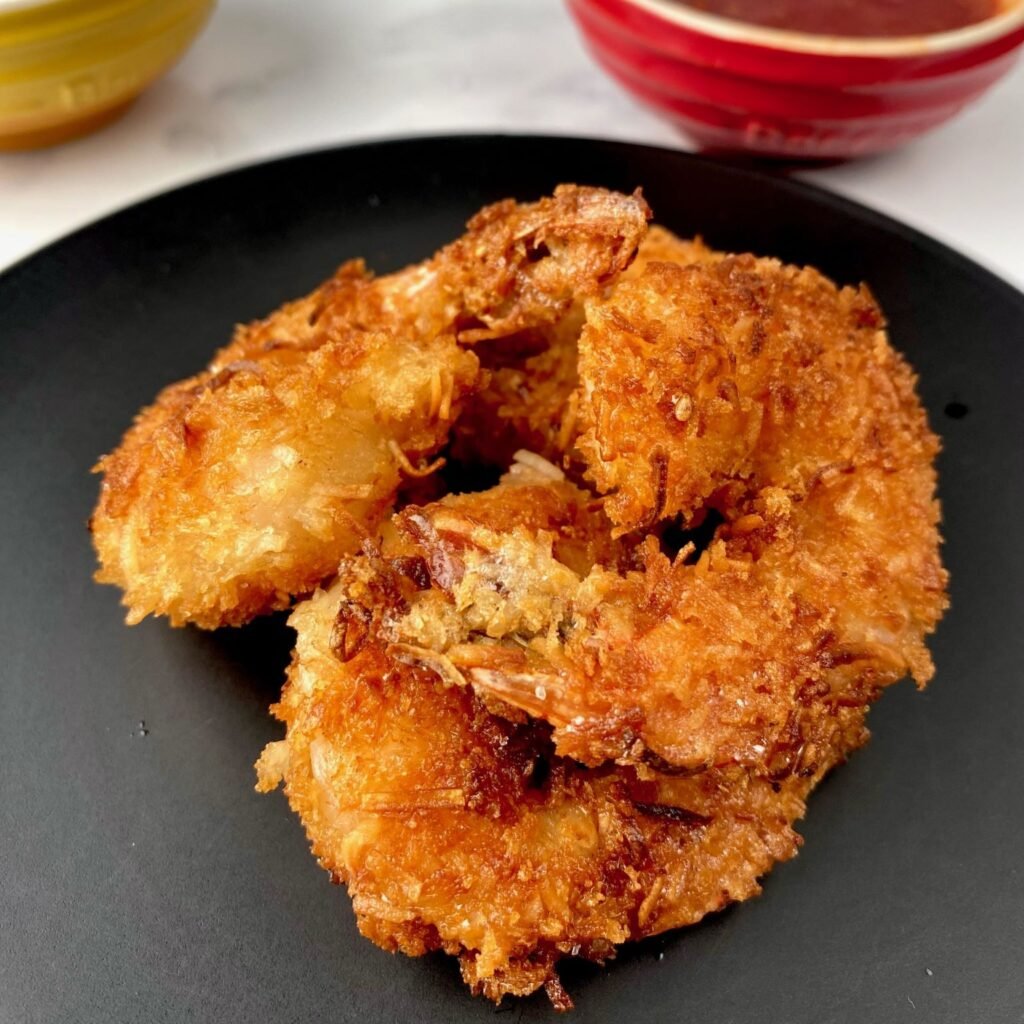
Easy Crispy Coconut Shrimp
The classic Crispy Coconut Shrimp is a staple appetizer served in millions of bars and restaurants all around the world. They’re a fan favorite for their big flavors and beautiful texture and are of course best enjoyed with a delicious dipping sauce. The good news for all of you at home is there’s no need to head out to the bar and drop hundreds of dollars on a night out when you can make this Easy Crispy Coconut Shrimp dish at home. This entire dish is made from start to finish in under 15 minutes and serves as an awesome appetizer or simple bite to eat any time of the day
How to make Easy Crispy Coconut Shrimp at home
This is such an easy meal to make and well worth trying at home. It’s a very simple process and you’ll be amazed at how great the flavor is. This dish is made in a very similar way to other fried dishes such as Fried Chicken, Chicken Schnitzels etc. The technique is very much the same
This dish requires a typical breading station to be set up which means we need three separate bowls filled with different ingredients that will coat the Shrimp in that delicious crispy Coconut breading. The first bowl consists of a mixture of All Purpose Flour and Dried, Shredded Coconut. The ratios of these are 1:1, meaning there are equal parts Flour to Coconut in the breading
It is important to season the breading well, as this is the only opportunity to get a load of flavor into the dish other than adding some Salt at the end. In addition to Salt, we recommend adding some Onion Powder and Garlic Powder to the mixture. This is an optional step, but if you’ve got them in the pantry then we highly recommend using them
Fill the second bowl with Egg Wash. Simply whisk up an Egg and pour it into a medium sized bowl. The role of the Egg Wash is to give the Shrimp a sticky, thick coating to help the Coconut adhere to it. This will enable the breadcrumbs to stick to it so it’s ready for frying

Panko Breadcrumbs are the best breadcrumbs to use for Crispy Coconut Shrimp
The third bowl is filled with breadcrumbs which provide the outer layer of the Coconut Shrimp. For the best result we recommend using Panko Breadcrumbs. They are a thicker type of Breadcrumb that is very commonly used in Japanese cooking. They are so delicious!
The thicker texture of the Panko Breadcrumbs provides the Coconut Shrimp with a rougher outer layer, which gives a unique contrasting texture to the dish. They taste amazing, especially when you’ve seasoned them well with some Salt, which we recommend adding to the bowl of breadcrumbs before you apply it to the Shrimp
Preparing the Shrimp
Shrimp can sometimes be a little bit tricky to prepare if you don’t know the right technique. For our Easy Crispy Coconut Shrimp recipe, we need to ensure that the Shrimp are peeled and deveined, but still have their tails intact. The tails are just used as an easy way to dip the Shrimp into sauce, so it’s important to keep them on the Shrimp!
You can buy Shrimp already peeled and deveined from your local fish shop, however if you can’t, or prefer to do it yourself we’ve got a great video here on how to properly complete this step easily, and with little mess:
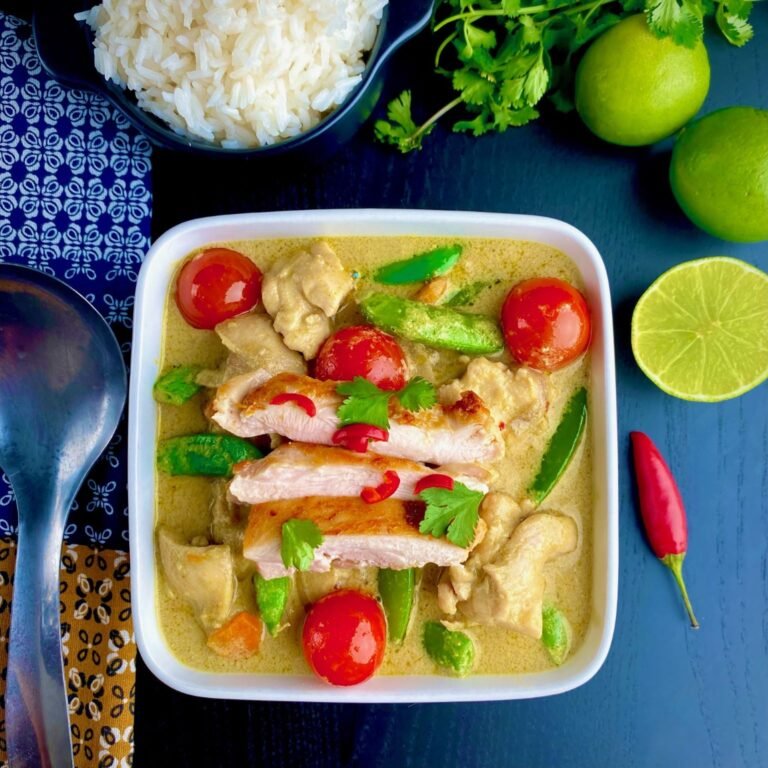
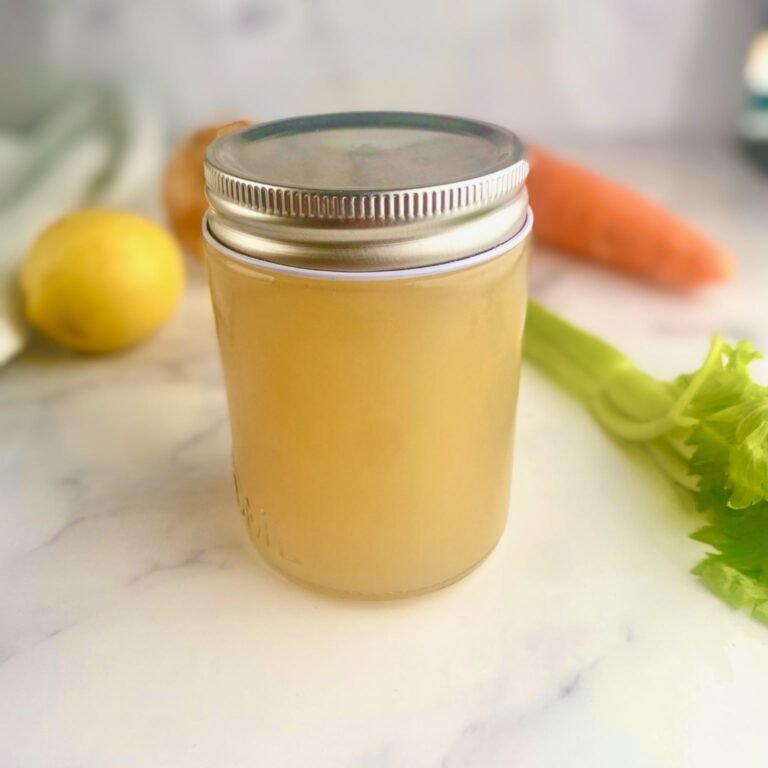
Our best recommendation is to buy Shrimps completely whole. Prepare the Shrimp as per the video above but don’t throw out the shells and head. Those make for an unbelievable tasting Shrimp Broth that can be used to make so many great dishes such as our Tom Kha Gai Soup, and this delicious Lobster Bisque
Just throw the Shells into a Ziploc bag and put it into the freezer. After you’ve made a few separate Shrimp dishes at home you’ll have more than enough Shells ready to make a delicious Shrimp Broth
The biggest challenge with cooking this dish is you can’t see the Shrimp as it’s cooking
Usually when cooking Shrimp, it’s an easy process to tell that they’re done, because you can see the color of the Shrimp change to that vibrant pink color we all know and love. As the Coconut Shrimp is coated in the delicious breading, those visual cues aren’t there, which will make the cooking a little more challenging
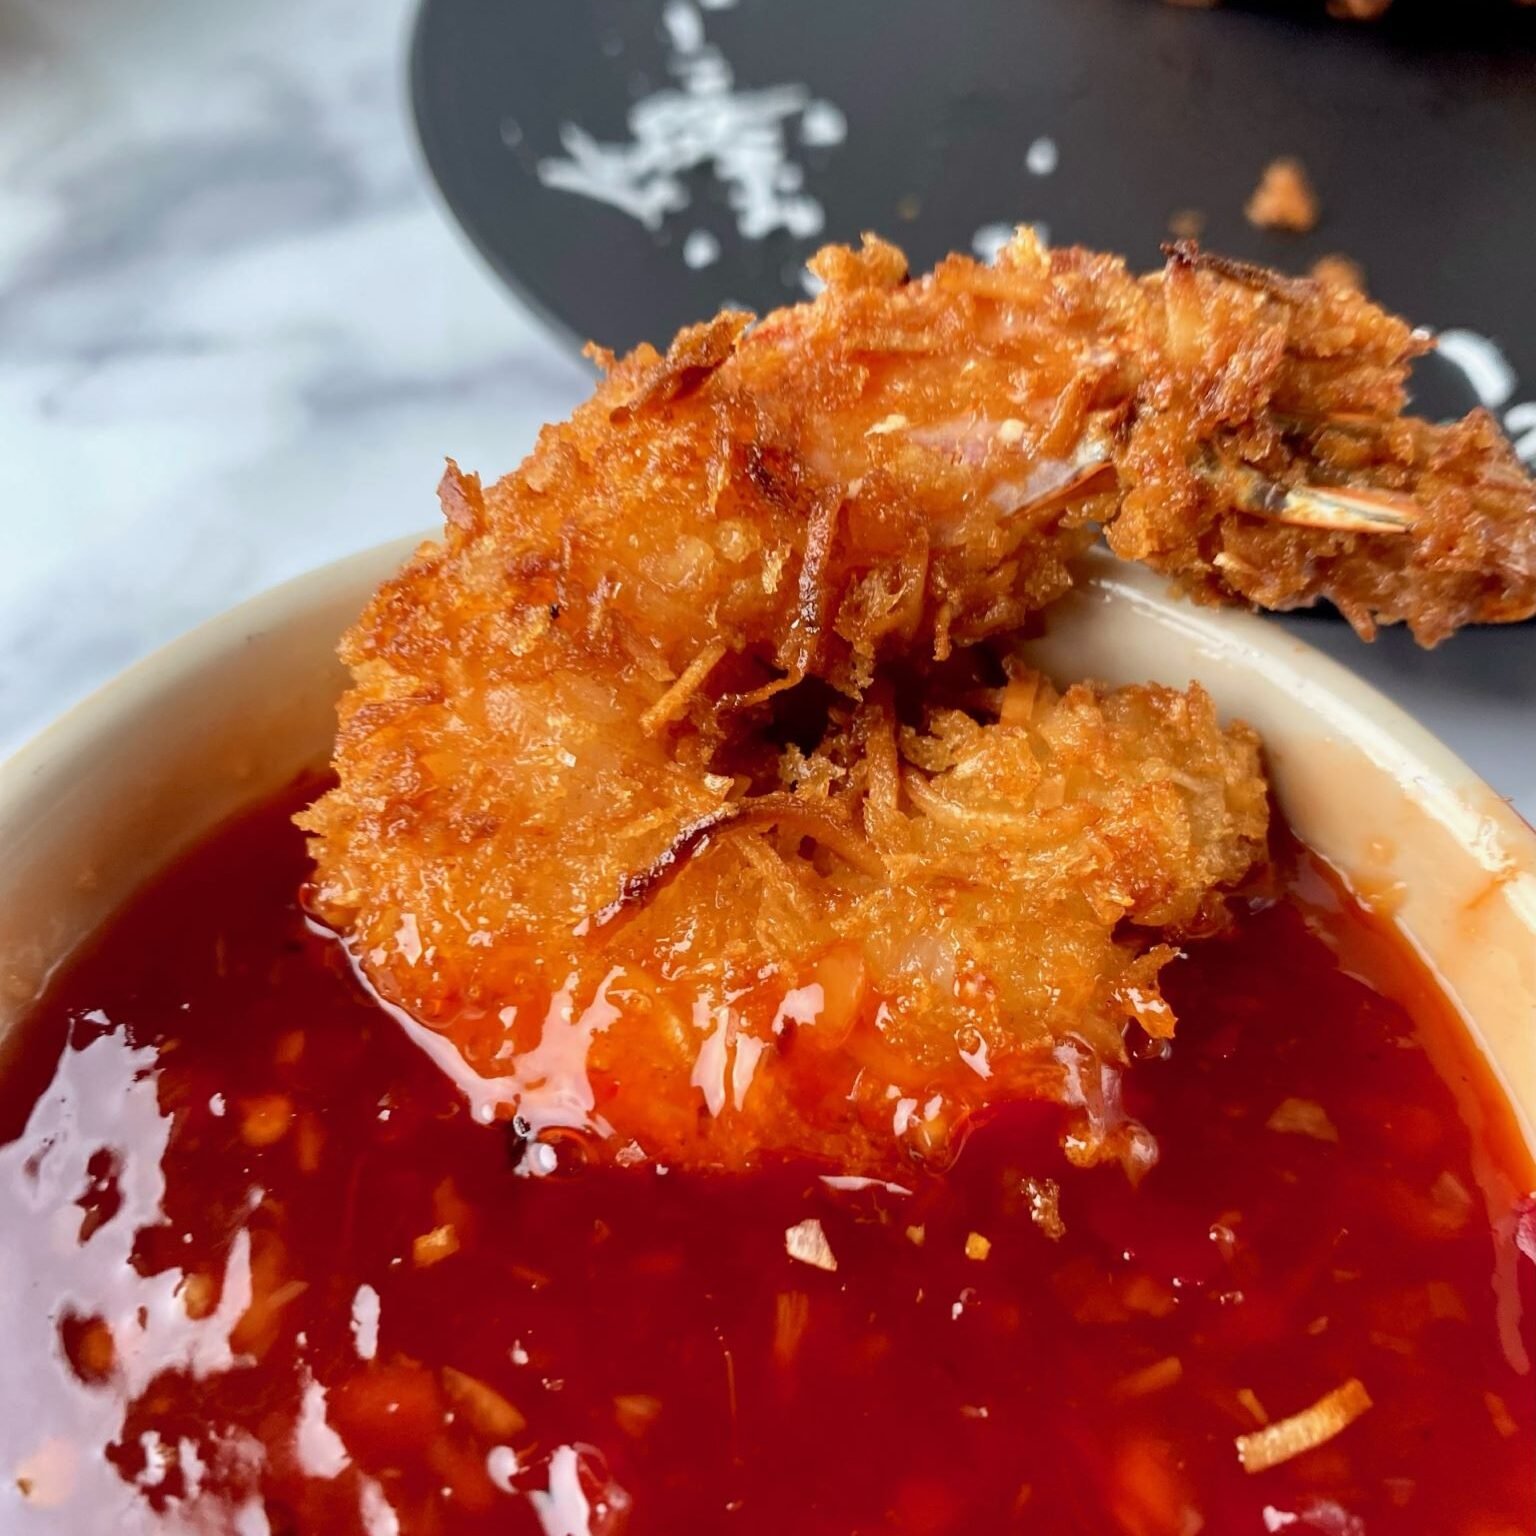
Provided you keep the Oil at a consistent temperature once you’ve added the Shrimp then the 2 minutes each side rule will be totally fine to stick by. The color of the coating will turn a lovely golden-brown color, not too dark and not too light. You want the color to be a vibrant gold color, not dark brown like ale beer, and not light brown like Tempura. Basically, somewhere in the middle
If the Oil is too hot you can run the risk of the breading cooking too fast and turning that dark brown color too soon. If the Oil temperature is too low, there’s a risk that the Oil may seep into the breading which will make the Shrimp soggy and have an unpleasant flavor. Keeping the Oil hot is critical for success
Best bet is to invest in a kitchen thermometer and use that to check the Oil temperature. Check it before you add the Shrimp and then monitor it while the Shrimp are cooking. The temperature of Oil drops when you add cold ingredients to it, so you may need to crank the heat a bit once the Shrimp are added
Recipe Details
2 – 4 people
10 minutes
4 minutes
14 minutes
Easy Crispy Coconut Shrimp Recipe
Ingredients
- ¾ lb. / 300g Large Shrimp
- ½ cup All Purpose Flour
- ½ cup Shredded Coconut
- ½ cup Panko Breadcrumbs
- 1 Egg
- 1 cup Neutral Frying Oil (eg: Canola or Vegetable Oil)
- Salt
- ¼ cup Sweet Chili Sauce (for dipping)
- 1 tsp. Onion Powder (optional)
- 1 tsp. Garlic Powder (optional)
Instructions
- Prepare the Shrimp by peeling and deveining them, leaving the tails intact. Here’s our instructional video on how to prepare Shrimp
- Create a breading station using three separate bowls. Fill the first with AP Flour and 1 tsp. of Salt. (optional: add Garlic Powder and Onion Powder). In the second bowl, add the Egg and whisk well. In the third bowl add the Shredded Coconut, Panko Breadcrumbs and 1 tsp. of Salt
- Generously coat the Shrimp in the Flour mixture, then the Egg mixture, and finally finish with the Coconut and Breadcrumbs. Ensure a generous, even coat for all three steps (we recommend doing this in batches)
- Heat the oil in a frying pan over medium high heat. Once the Oil hits 300F, carefully drop a few of the coated Shrimp into the Oil. Try not to overload the pan as this will drop the heat of the Oil, so best to do this in batches
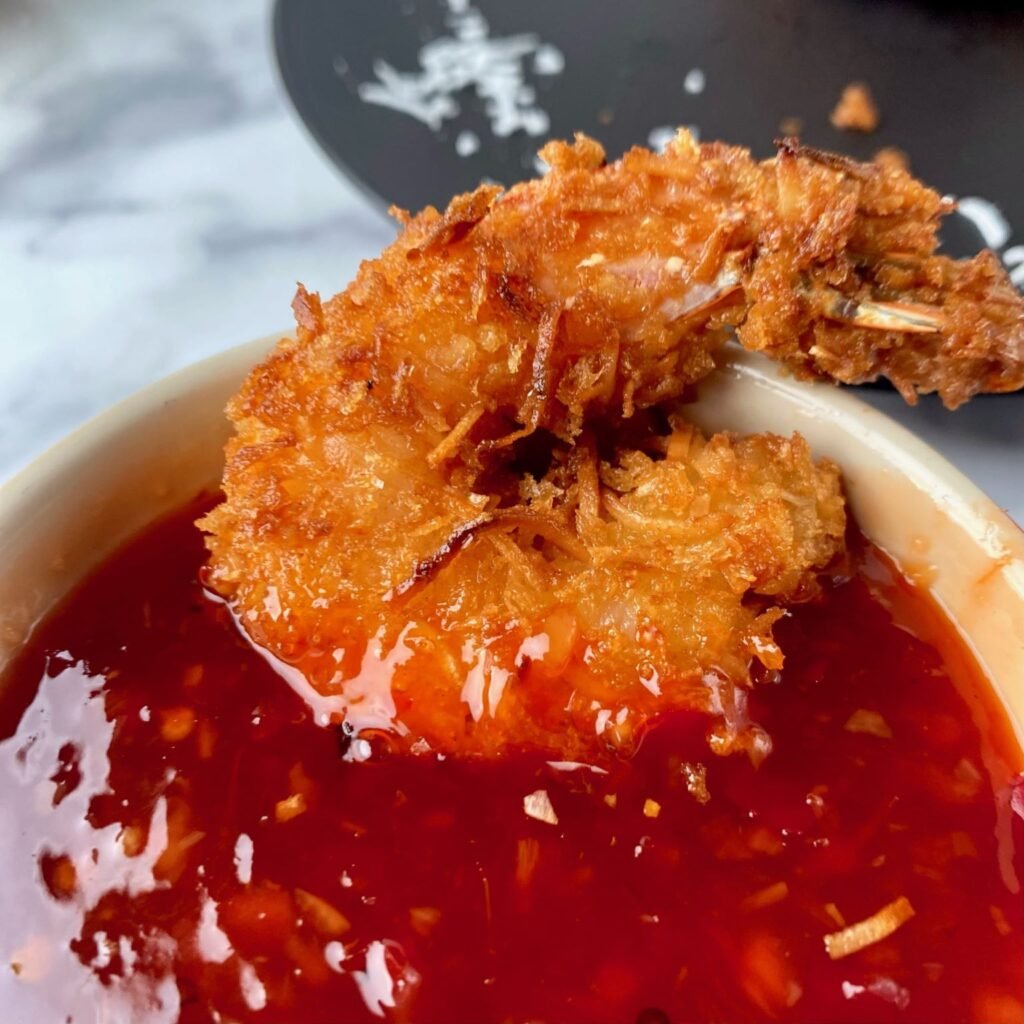
- Fry the Shrimp for 2 minutes, then flip and fry for 2 more minutes. Remove from the Oil and set aside on a wire rack. Immediately season with a pinch of Salt. Repeat for remaining Shrimp. Serve with Sweet Chili Sauce for dipping
Recipe Notes
- If you don’t have a thermometer to check the Oil temperature, simply drop a small piece of bread into the Oil. If the Oil starts to aggressively bubble around the Bread, it’s hot enough to start cooking
- Adding Garlic Powder and Onion Powder to the breading is optional, but it does add a beautiful depth of flavor to the Coconut Shrimp
We hope you enjoy our Easy Crispy Coconut Shrimp recipe. The flavors and textures in this recipe are truly phenomenal
If you enjoy this recipe then good news, we have loads more tasty Shrimp recipes for you. Here are a few of our favorites that we recommend you check out:
- Shrimp Aguachile
- Creamy Shrimp Soup
- Shrimp and Grits with Chorizo
- Peel and Eat Shrimp with Garlic Butter
Happy Cooking!