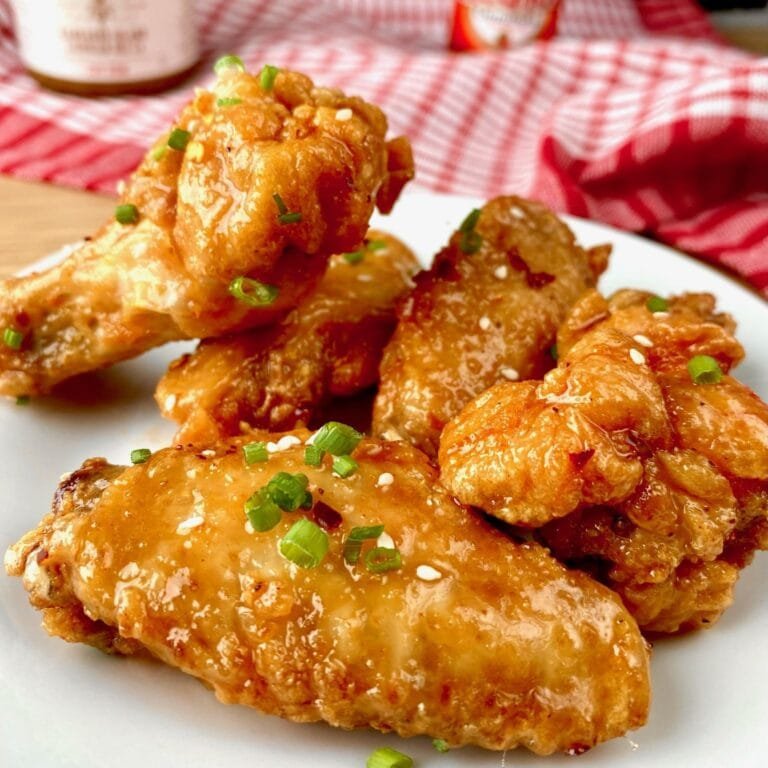
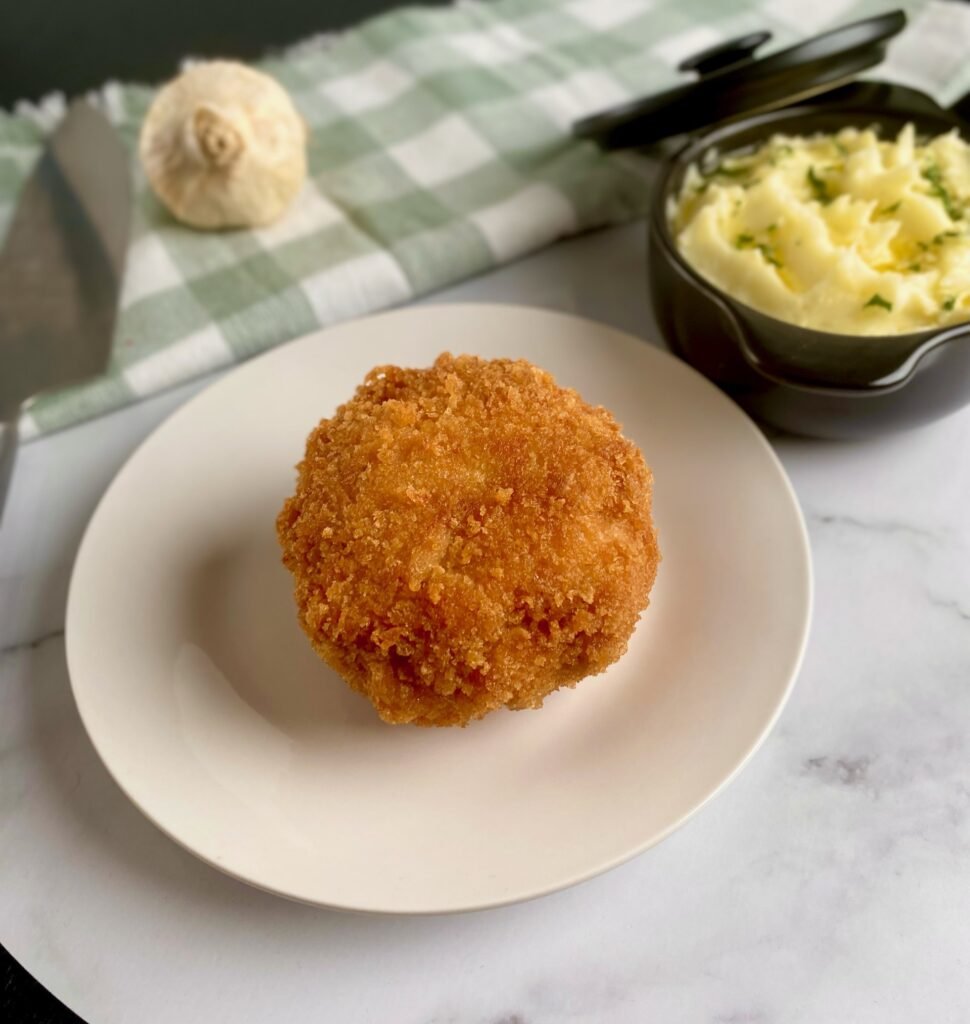
Chicken Kiev Bites
Growing up in the 90’s Chicken Kiev was one of my favorite dishes to eat as a kid, and it still is today! Unfortunately, this classic dish of the 80s and 90s is not as common as it once was however we’re here to proudly stand by this crispy, buttery gastronomic champion! This fun dish is a play on the classic Chicken Kiev Recipe. Fried, golden and delicious Chicken Kiev Bites!
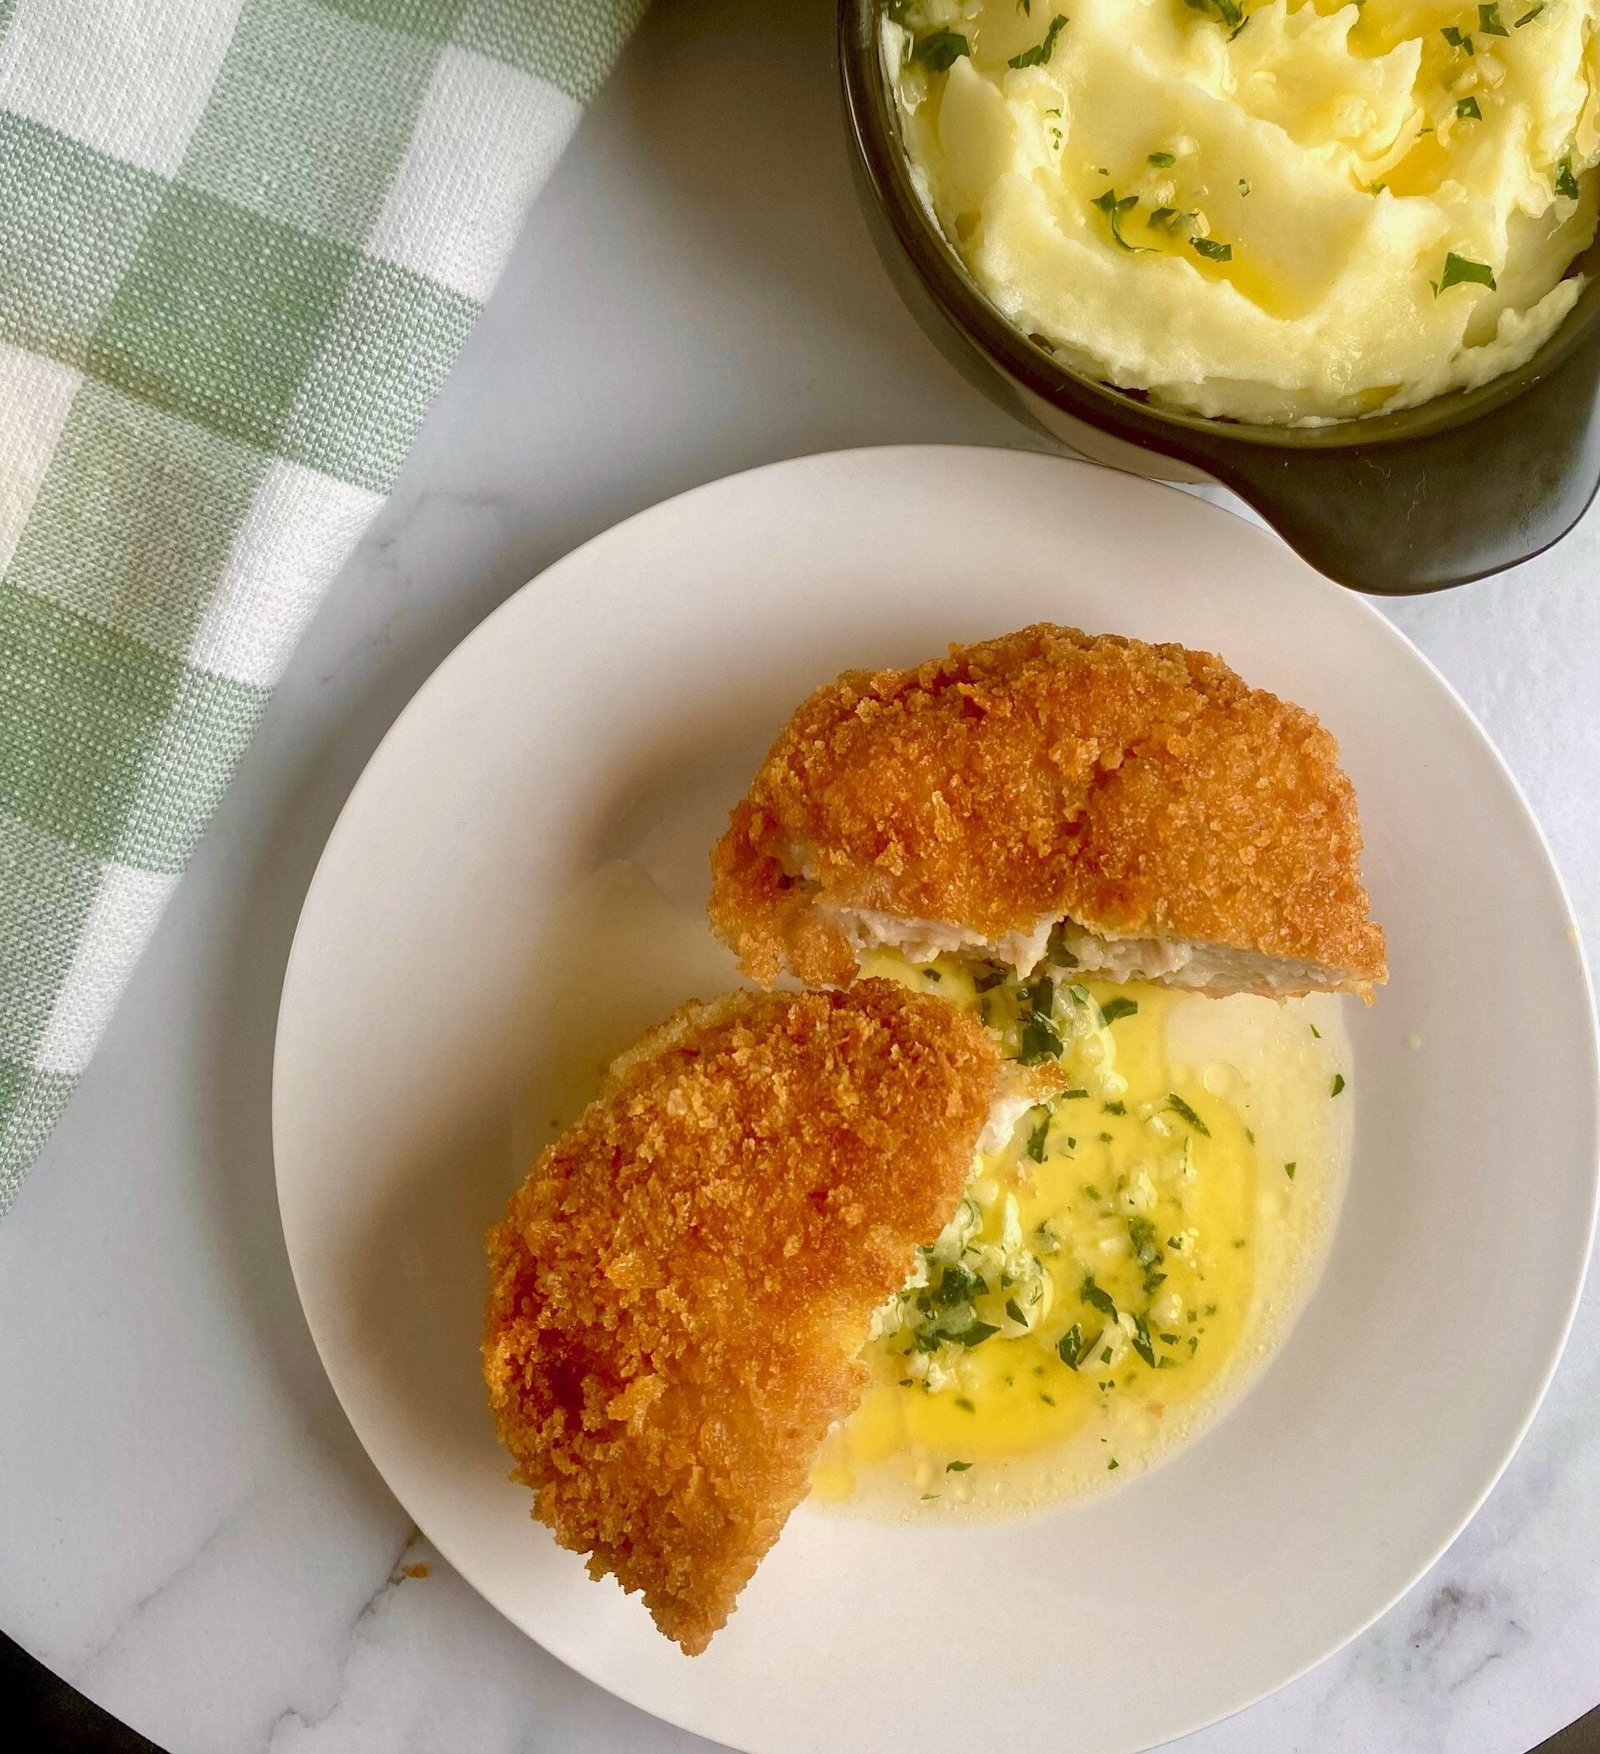
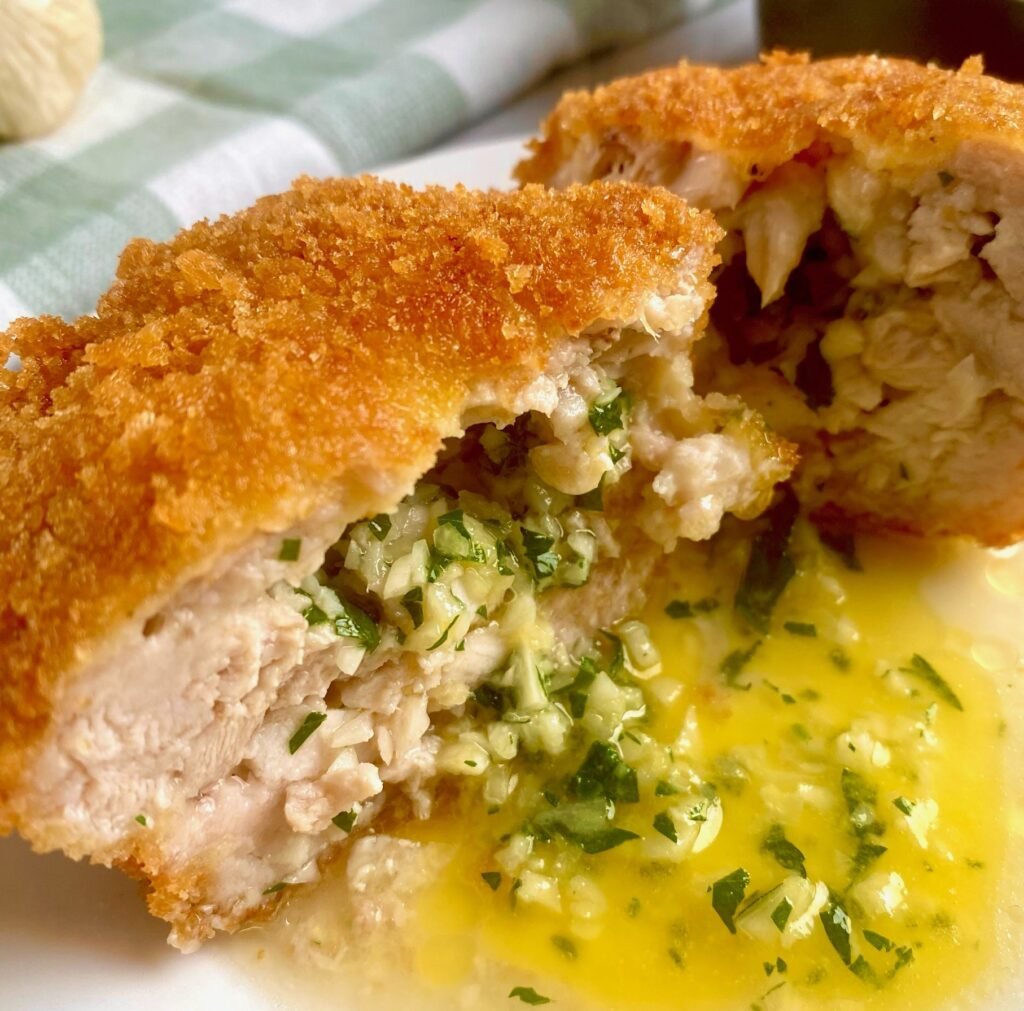
The secret to any great Chicken Kiev is the moment you cut into it and that hot, garlicky butter oozes out onto your plate. Many a cook has seen that butter end up all over the baking tray while it’s been cooking instead of on the final plate. This recipe has a little twist on its preparation, ensuring you’ll be delighting your guests with a buttery surprise every time when they cut inside these beauties
There are two ways to prepare the Chicken, each will result in a very different overall texture
You can either blitz your Chicken in a food processor or cut it all up by hand. Both methods will work so it does ultimately come down to personal preference
By blitzing the Chicken you will save on a bit of time, but you do of course, require a food processor to do so. Blitzing the Chicken will compact it immensely, leaving quite a dense paste-like textured Chicken. It is quite easy to mold into balls which makes the breading stage quite easy. The dense texture is quite heavy, however. If you like the Chicken Kiev Bites to be more of a hearty meal, then this would be the way to go
For a lighter overall texture, you can simply hand cut the Chicken with a sharp knife. This process will take a lot longer, as we recommend literally banging the Chicken with large, sharp knives on the chopping board until it is cut quite fine. This method will result in a lighter textured Chicken Kiev, as there is a lot more air that will ultimately get into the bites as they are breaded and fried
If you like, you can always try both methods and see which you prefer. For the photos in this recipe, we’ve gone with the hand cut approach and the dish turned out fantastic
Freeze your Garlic Butter Mixture before assembling the Chicken Kiev Bites
You will need to allow a couple of hours for the Garlic Butter to freeze before you begin to assemble your Chicken Kiev Bites. Preparing the Garlic Butter is quite a simple process, it just takes a little bit of waiting time for it to freeze
Simply melt the Butter and Garlic along with some freshly chopped Parsley in the microwave or in a hot pan and mix well to get an even consistency of ingredients throughout the Butter. Let it cool a bit before placing it in the freezer. You can simply place the Butter onto some cling wrap and wrap it into a log once it has cooled a little bit. This is easily the best way to freeze it, as you’ll then be able to cut the Butter into even cubes when it is time to prepare the Chicken Kiev Bites
The type of Breadcrumbs you use will vary the texture quite a lot
It is all about texture with this dish, so choose your breadcrumbs wisely! If you’re looking for a smooth, coating for the Chicken Kiev bites we recommend using fine breadcrumbs. They work great for any kind of shallow frying or deep frying as they apply a very smooth, even coat throughout. Perfect for the Chicken Kiev Bites
Another option worth trying are Panko breadcrumbs. These are a chunkier, rougher style of breadcrumb which is popular in Japanese cooking. They will not result in the most even coating, however they will form quite a unique and rough texture for the Bites. This is not necessarily a bad thing, as those unique fried bits tend to be awesome to eat
Both options are great. Just give them a go and let us know in the comments below which breadcrumbs you prefer for this recipe!
Recipe Details
2 people
20 minutes
15 minutes
35 minutes
Chicken Kiev Bites Recipe
Ingredients
- 2 lbs. of Boneless Chicken Thighs
- 1 cup flour
- 2 eggs, beaten
- 1 cup breadcrumbs
- 3 cups of frying oil such as Vegetable or Canola Oil
- 2 Sticks of unsalted butter (approx. 1 cup)
- 6 Garlic Cloves, finely crushed
- ½ cup of Fresh Parsley, finely chopped
- Salt and Pepper
Instructions
- Melt the butter into a liquid then mix well with Garlic and Parsley. Place in a small plastic storage container and refrigerate for 1 hour until the mixture completely hardens. Cut the butter mixture into 1-inch cubes
- Dice the Chicken to a fine texture. You can either blitz in a blender or finely dice with a sharp knife. Either approach works well, it just depends on the texture you’re after. Blitzing will be much denser, chopping a bit lighter in texture. Once the Chicken is at your desired texture, season with Salt and Pepper
- Setup your kitchen bench with 3 medium bowls; one with Flour, one with the Eggs and one with the Breadcrumbs. This will be our mixing station to prepare the Chicken. Season all 3 bowls with Salt & Pepper
- Fill the palm of your hand with some of the chicken mixture, place a cube of the butter mixture in the center then fold the chicken mixture over it to completely cover the butter. You may need to grab a little bit more chicken mixture to ensure the butter is completely covered which is completely ok. The goal is to have tennis ball sized balls
- Place the chicken into the flour mixture, then the egg wash and then finally cover with breadcrumbs. Ensure through each stage the chicken is very well covered. This will form our crust so it’s important there are no gaps otherwise the butter may seep out which we don’t want! This step is messy, there’s no avoiding it so just have fun with it! Repeat with all the remaining chicken then set aside on a tray and refrigerate for 30 minutes
Frying the Chicken Kiev Bites
- You can either shallow fry or deep fry the chicken, either is perfectly fine. Place oil into a high rimmed pan and heat on the stovetop until the oil temperature is between 350 – 375 degrees. Carefully place the chicken into the pan, being careful to watch the temperature as it will drop once you add the cold chicken so don’t add it all at once. You want to ensure the temperature stays around that 350 – 375 mark
- Fry the balls for about 10 minutes until golden brown and the internal temperature is 160 degrees. Remove and place on a wire rack to rest
I love this dish served with mashed potatoes as the butter that oozes out from the Chicken goes so well with some silky-smooth mashed potato. Check out the Best Mashed Potatoes Ever recipe here
If you enjoyed our Chicken Kiev Bites recipe we guarantee you love some of these other awesome bite-sized recipes:
- Meat Hand Pies
- Cod Fish Cakes with Potatoes
- Stuffed Mushrooms with Cream Cheese and Garlic
- Air Fryer Mac and Cheese Bites
Happy Cooking!